Download Applications
Models are generated using COLMAP*. Meshlab and CloudCompare are used for analysis and measurement. Click on buttons below to visit the software download pages.
*A earlier approach uses VisualSFM with CMVS Binary Binary for sparse and dense reconstruction. Find the installation instructions and system compatibility here.
Tags to Improve Performance
Download the package below to get the patterns. Find the matlab code in the package to produce more tags. Place several of these tags on featureless region of the scene to get better reconstruction result.
For details, please refer to this documentation on how to place the tags.
NEW>>>
JEEP Wheel Detailed Model by COLMAP
The left front wheel of the JEEP is reconstructed. The goal is to get a complete model of complex parts while preserve as much detail as possible. This model can be visualized with Meshlab.
In Meshlab, click to turn off the light  to get better visualization result.
Download Meshlab software from here.
Download the model and all six texture files below. Place them in the same folder. (Tips 1: When Meshlab opens the model, it looks for the texture.png file to texture the model. Without the texture.png file, the model would look like plain gray mesh. Tips 2: Make sure this folder has no texture images in it. Otherwise, the texture image will be renamed while downloading. And the model will fail to locate the correct texture.)
See here for instructions on 'Import mesh reconstruction', 'Operate with mouse, keyboard, and menu buttons', etc.

NEW>>>
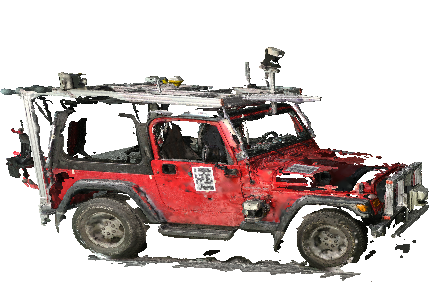
JEEP Model by COLMAP
Both exterior and interior of the JEEP are reconstructed. This model can be visualized with Meshlab.
In Meshlab, click to turn off the light to get better visualization result.
Download Meshlab software from here.
Download the model and all six texture files below. Place them in the same folder. (Tips 1: When Meshlab opens the model, it looks for the texture.png file to texture the model. Without the texture.png file, the model would look like plain gray mesh. Tips 2: Make sure this folder has no texture images in it. Otherwise, the texture image will be renamed while downloading. And the model will fail to locate the correct texture.)
See here for instructions on 'Import mesh reconstruction', 'Operate with mouse, keyboard, and menu buttons', etc.
Sept.27 2016 Staged Crash No.1
Textured model can be visualized with Meshlab.
In Meshlab, click to turn off the light to get better visualization result.
Download Meshlab software from here.
Download the model and all six texture files below. Place them in the same folder. (Tips 1: When Meshlab opens the model, it looks for the texture.png file to texture the model. Without the texture.png file, the model would look like plain gray mesh. Tips 2: Make sure this folder has no texture images in it. Otherwise, the texture image will be renamed while downloading. And the model will fail to locate the correct texture.)
See here for instructions on 'Import mesh reconstruction', 'Operate with mouse, keyboard, and menu buttons', etc.
Scene Reconstruction Model
Texture file 0
Texture file 1
Texture file 2
Texture file 3
Texture file 4

Sept.27 2016 Staged Crash No.2, inside & outside of car
Textured model can be visualized with Meshlab.
In Meshlab, click to turn off the light to get better visualization result.
Download Meshlab software from here.
Download the model and all six texture files below. Place them in the same folder. (Tips 1: When Meshlab opens the model, it looks for the texture.png file to texture the model. Without the texture.png file, the model would look like plain gray mesh. Tips 2: Make sure this folder has no texture images in it. Otherwise, the texture image will be renamed while downloading. And the model will fail to locate the correct texture.)
See here for instructions on 'Import mesh reconstruction', 'Operate with mouse, keyboard, and menu buttons', etc.
Scene Reconstruction Model
Texture file 0
Texture file 1
Texture file 2
Texture file 3

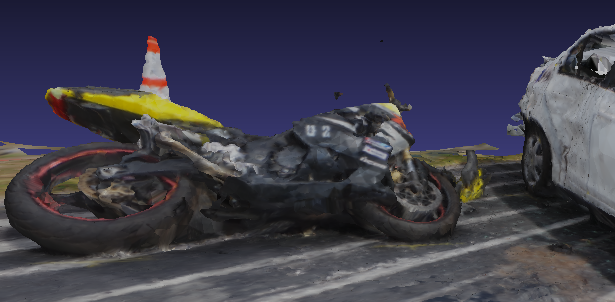
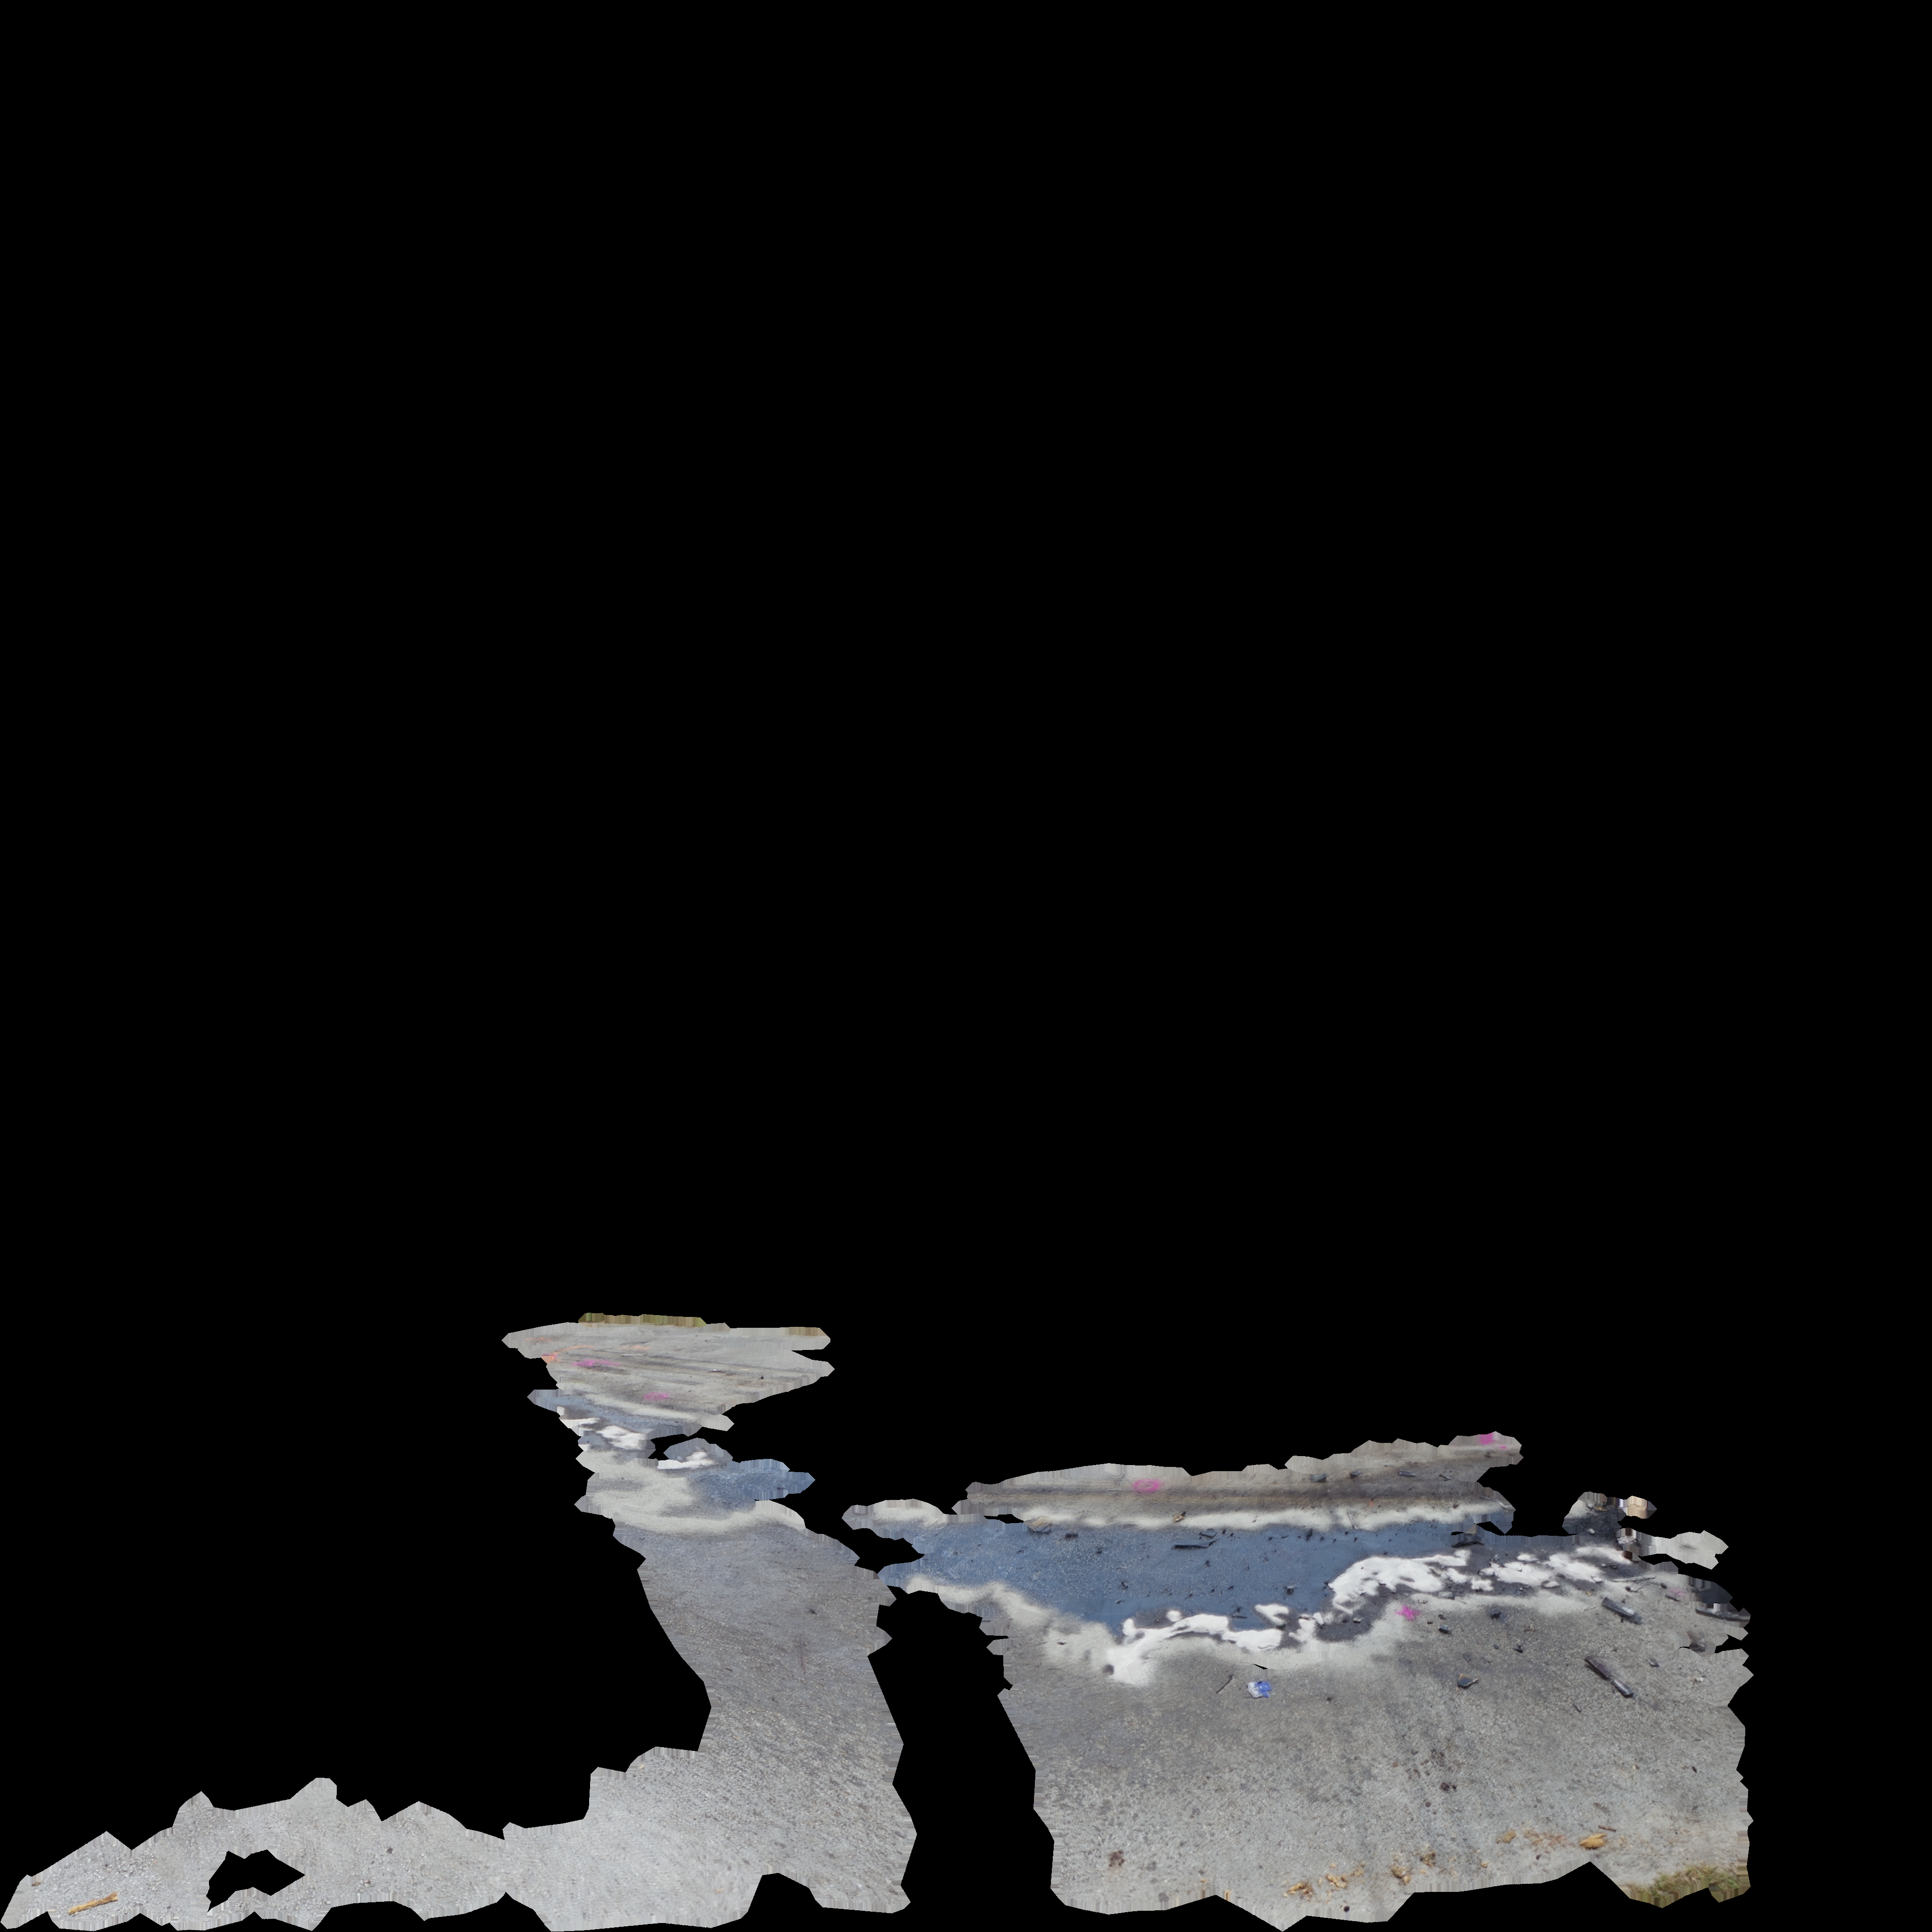
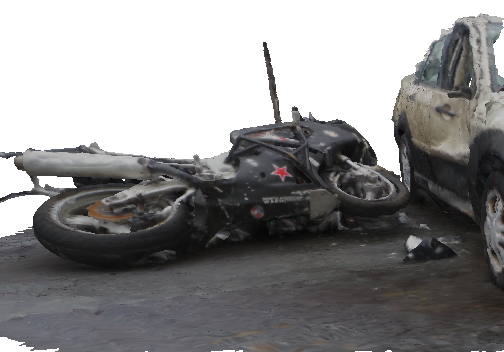
WREX: Motorcycle Crash into Car
Textured model can be visualized with Meshlab.
In Meshlab, click to turn off the light to get better visualization result.
Download Meshlab software from here.
Download the model and all six texture files below. Place them in the same folder. (Tips 1: When Meshlab opens the model, it looks for the texture.png file to texture the model. Without the texture.png file, the model would look like plain gray mesh. Tips 2: Make sure this folder has no texture images in it. Otherwise, the texture image will be renamed while downloading. And the model will fail to locate the correct texture.)
See here for instructions on 'Import mesh reconstruction', 'Operate with mouse, keyboard, and menu buttons', etc.
Motorcycle Model
Texture file 0
Texture file 1
Texture file 2
Texture file 3
Texture file 4
WREX: Double Truck Crash
Textured model can be visualized with Meshlab. In Meshlab, click to turn off the light to get better visualization result.
Download Meshlab software from here.
Download the model and all nine texture files below. Place them in the same folder. (Tips 1: When Meshlab opens the model, it looks for the texture.png file to texture the model. Without the texture.png file, the model would look like plain gray mesh. Tips 2: Make sure this folder has no texture images in it. Otherwise, the texture image will be renamed while downloading. And the model will fail to locate the correct texture.)
See here for instructions on 'Import mesh reconstruction', 'Operate with mouse, keyboard, and menu buttons', etc.
Double Truck Model
Texture file 0
Texture file 1
Texture file 2
Texture file 3
Texture file 4

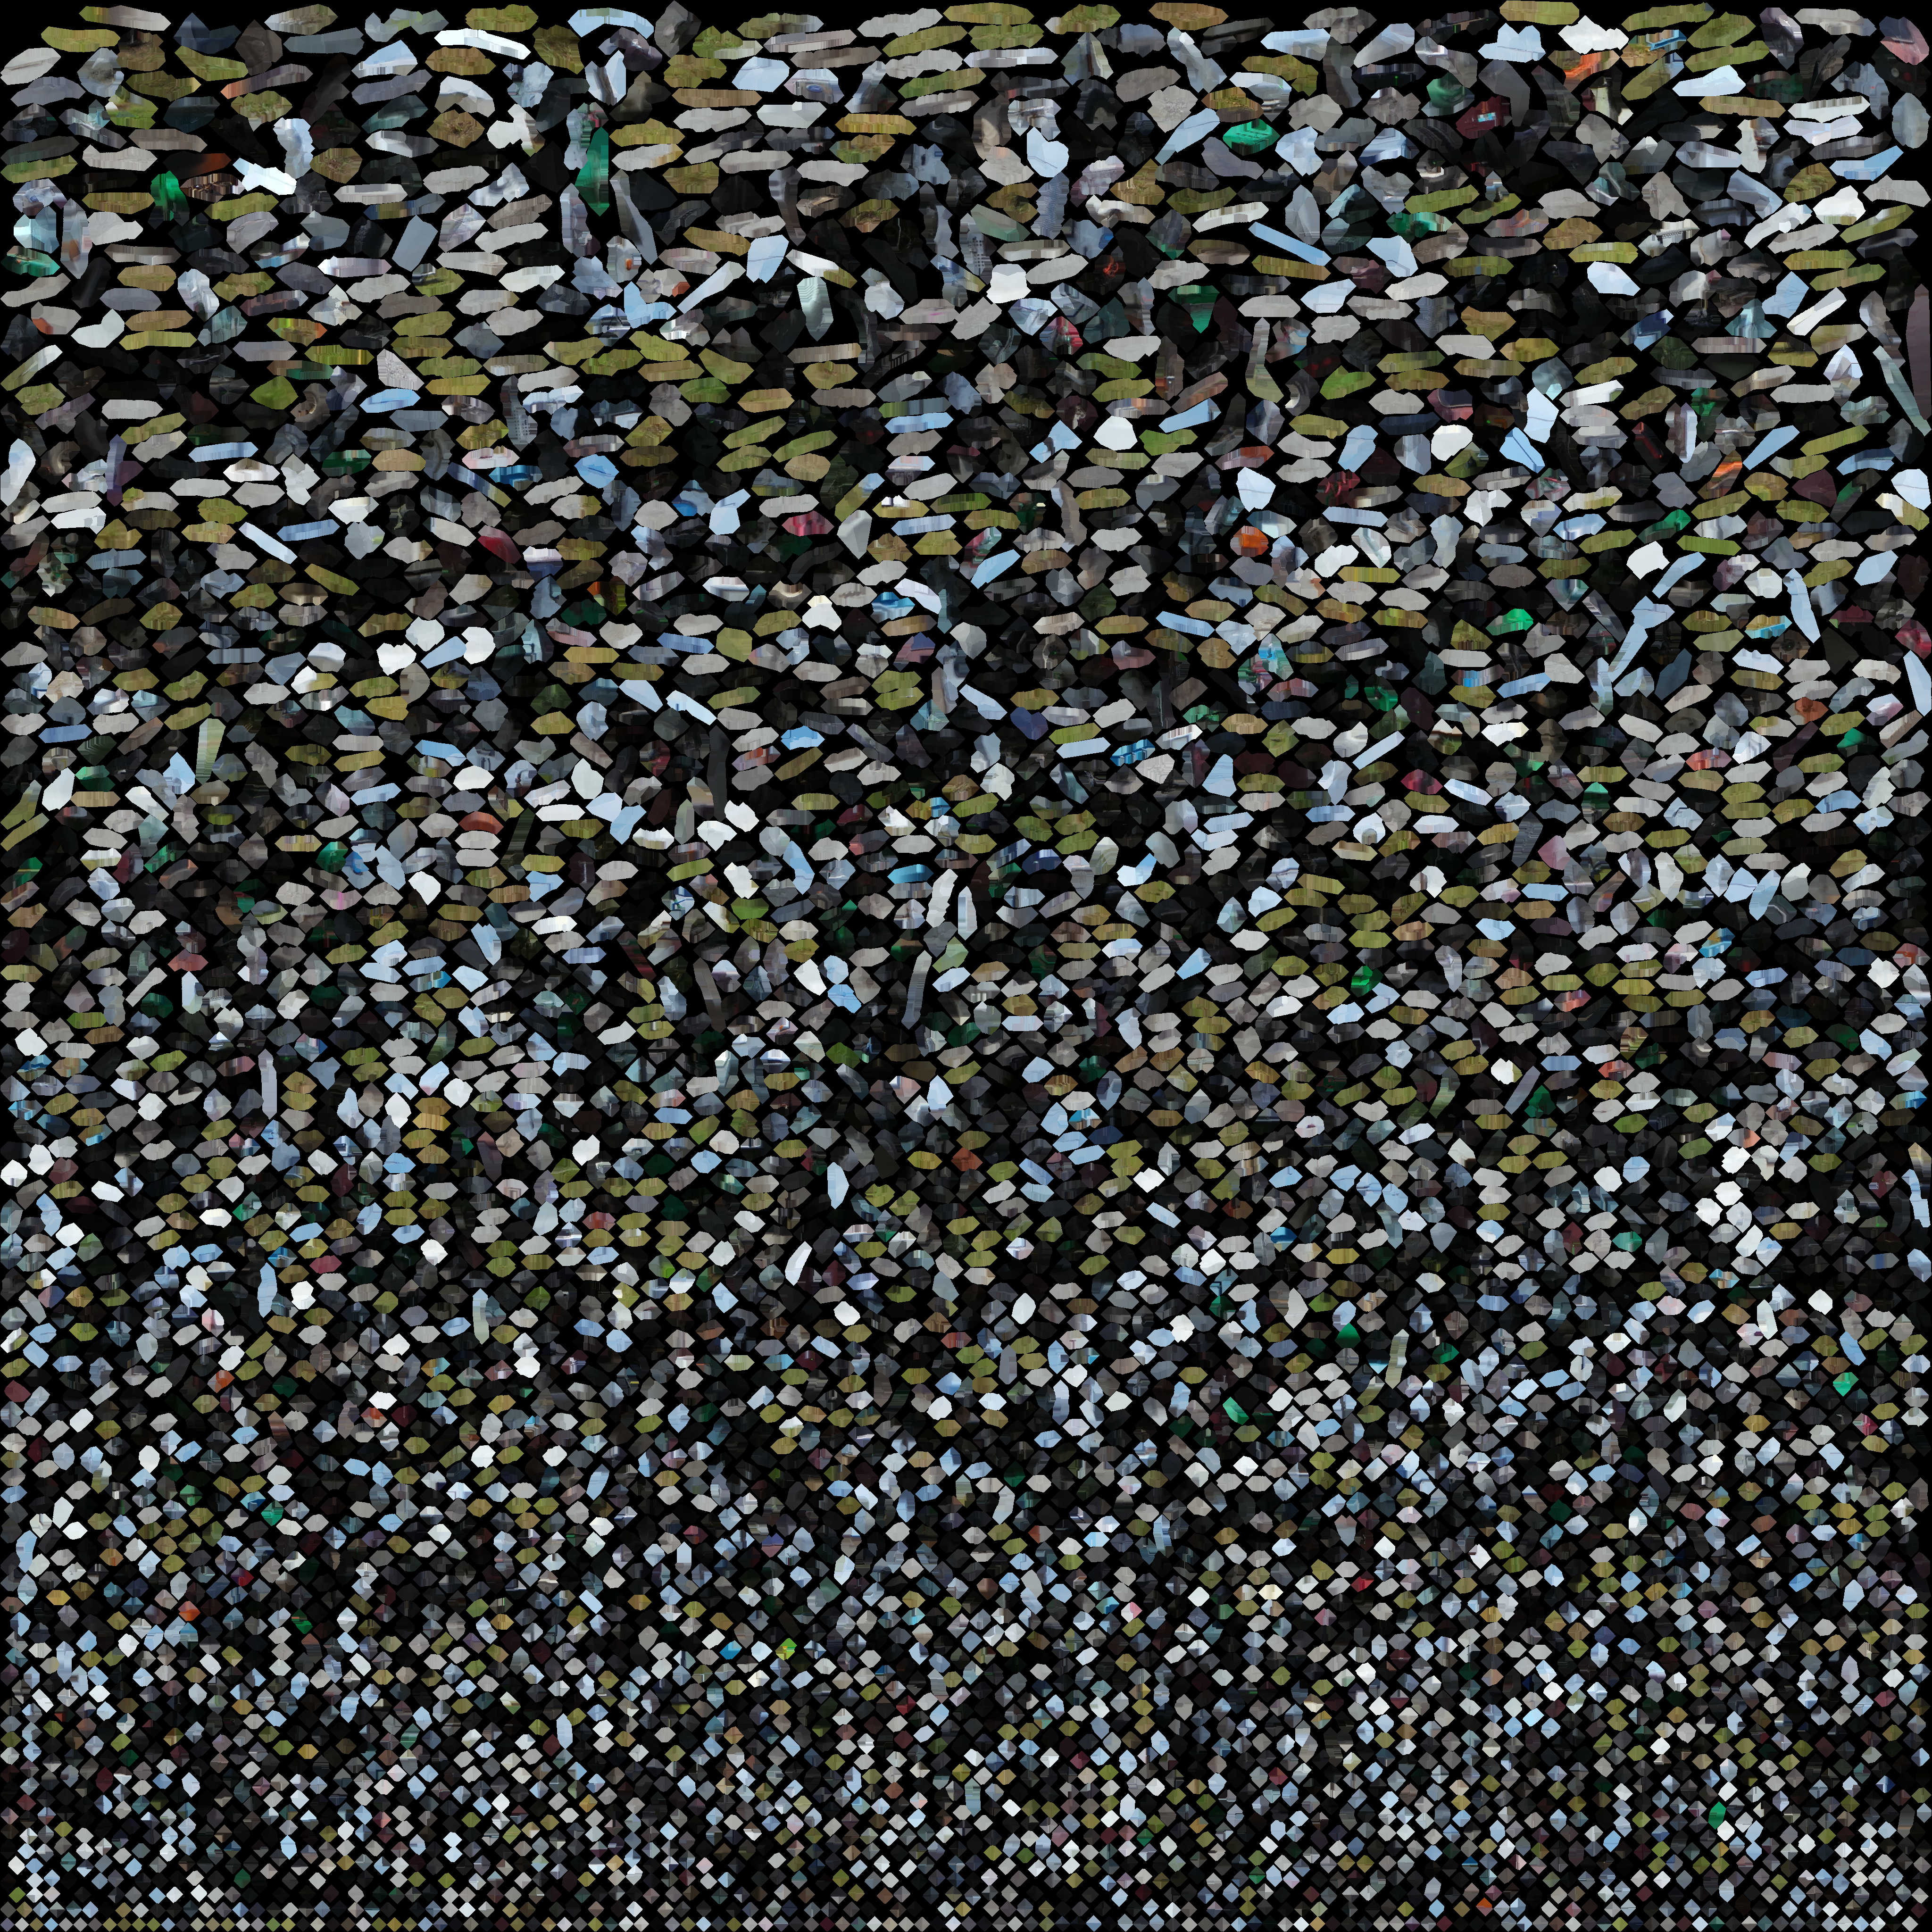
Motorcycle Crash I: Textured Mesh Reconstruction
Textured model can be visualized with Meshlab. In Meshlab, click to turn off the light to get better visualization result.
Download Meshlab software from here.
Download the model and all three texture files below. Place them in the same folder. (Tips 1: When Meshlab opens the model, it looks for the texture.png file to texture the model. Without the texture.png file, the model would look like plain gray mesh. Tips 2: Make sure this folder has no texture images in it. Otherwise, the texture image will be renamed while downloading. And the model will fail to locate the correct texture.)
See here for instructions on 'Import mesh reconstruction', 'Operate with mouse, keyboard, and menu buttons', etc.
Motorcycle, textured
Texture file 1
Texture file 2
Texture file 3

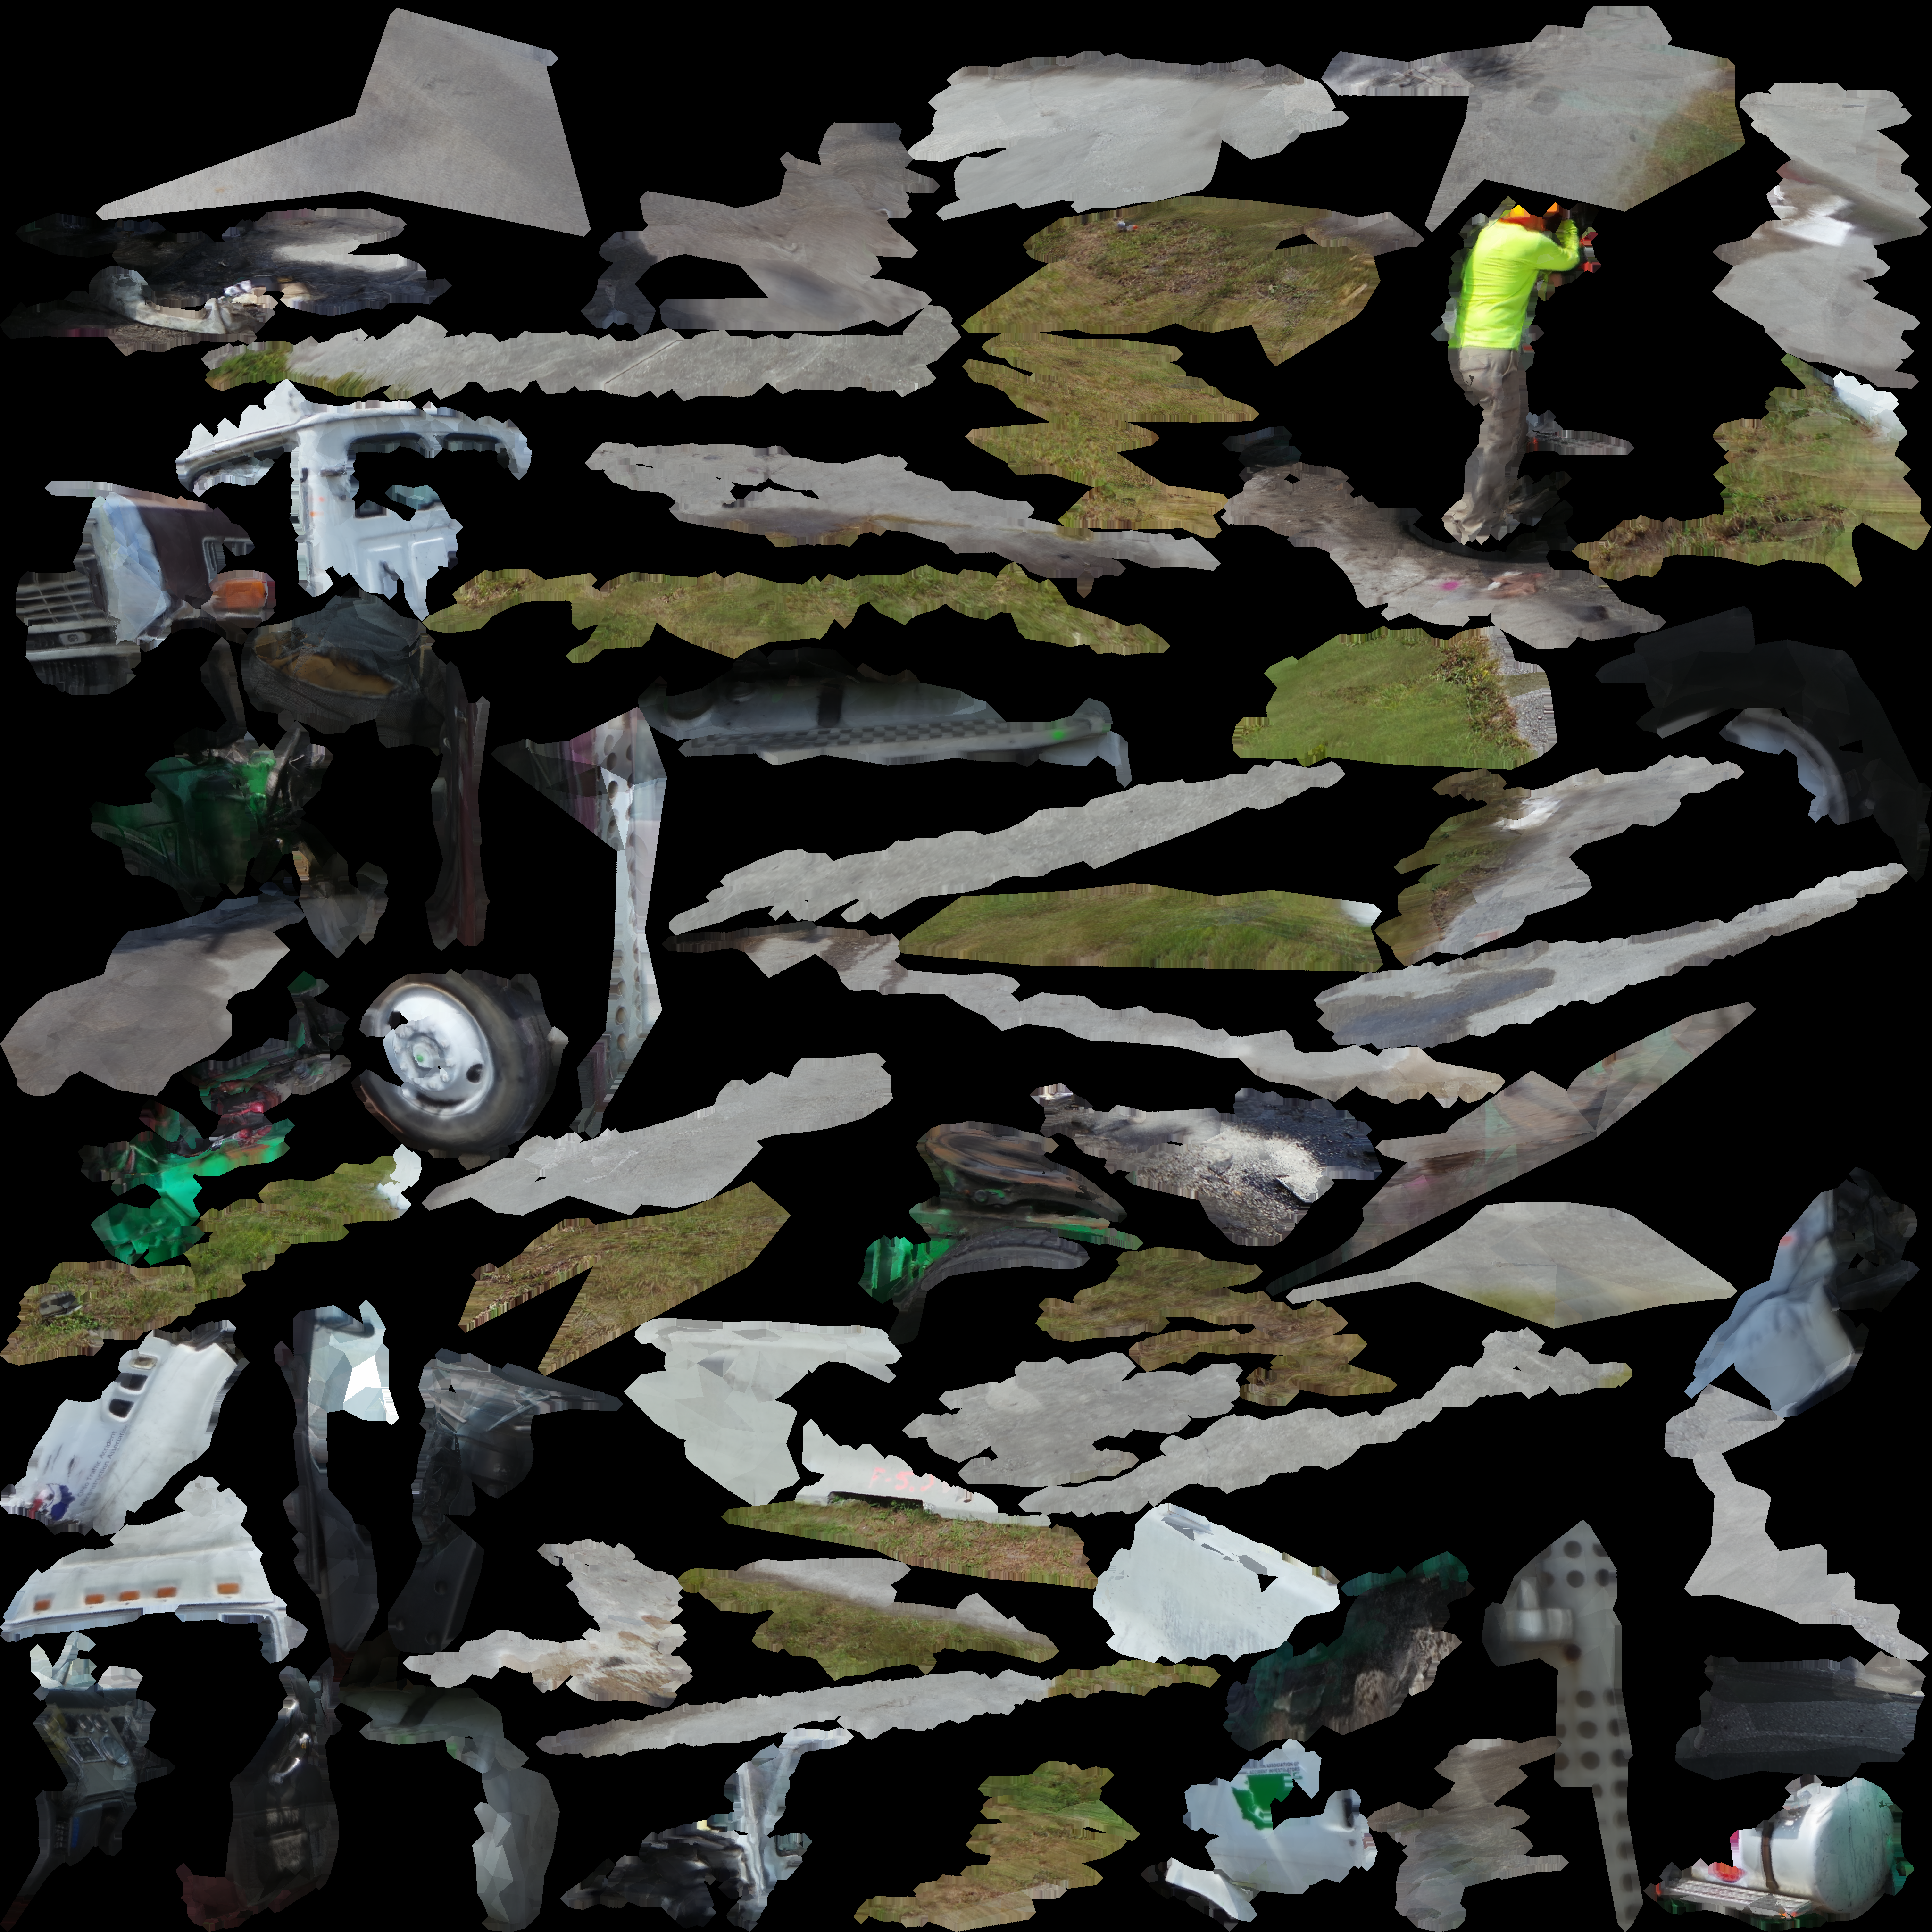
Motorcycle Crash II: Textured Mesh Reconstruction
Textured model can be visualized with Meshlab. In Meshlab, click to turn off the light to get better visualization result.
Download Meshlab software from here.
Download the model and all five texture files below. Place them in the same folder. (Tips 1: When Meshlab opens the model, it looks for the texture.png file to texture the model. Without the texture.png file, the model would look like plain gray mesh. Tips 2: Make sure this folder has no texture images in it. Otherwise, the texture image will be renamed while downloading. And the model will fail to locate the correct texture.)
See here for instructions on 'Import mesh reconstruction', 'Operate with mouse, keyboard, and menu buttons', etc.
Motorcycle, textured
Texture file 1
Texture file 2
Texture file 3
Texture file 4
Texture file 5

Car Model Before and After Crash: Sparse Reconstruction
These two sparse reconstruction models were created in VisualSFM. They were cleaned up, aligned, and measured in CloudCompare.
To visualize the models in your local computer, download the models and open in CloudCompare.
The before-crash model is in its original color. The after-crash model is colored based on deformation. The color ranges from blue to red, indicating the increment in deformation.
Download CloudCompare installer from here.
See here for instructions on installing CloudCompare. On the same page, search for keywords like 'Open files in CloudCompare', 'Operate with mouse, keyboard, and menu buttons', 'Turn on/off layers' to get similar views as in the demo video.
Download both models here.
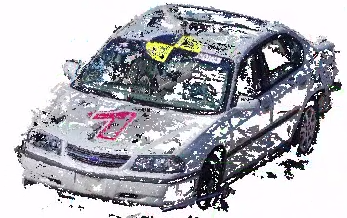
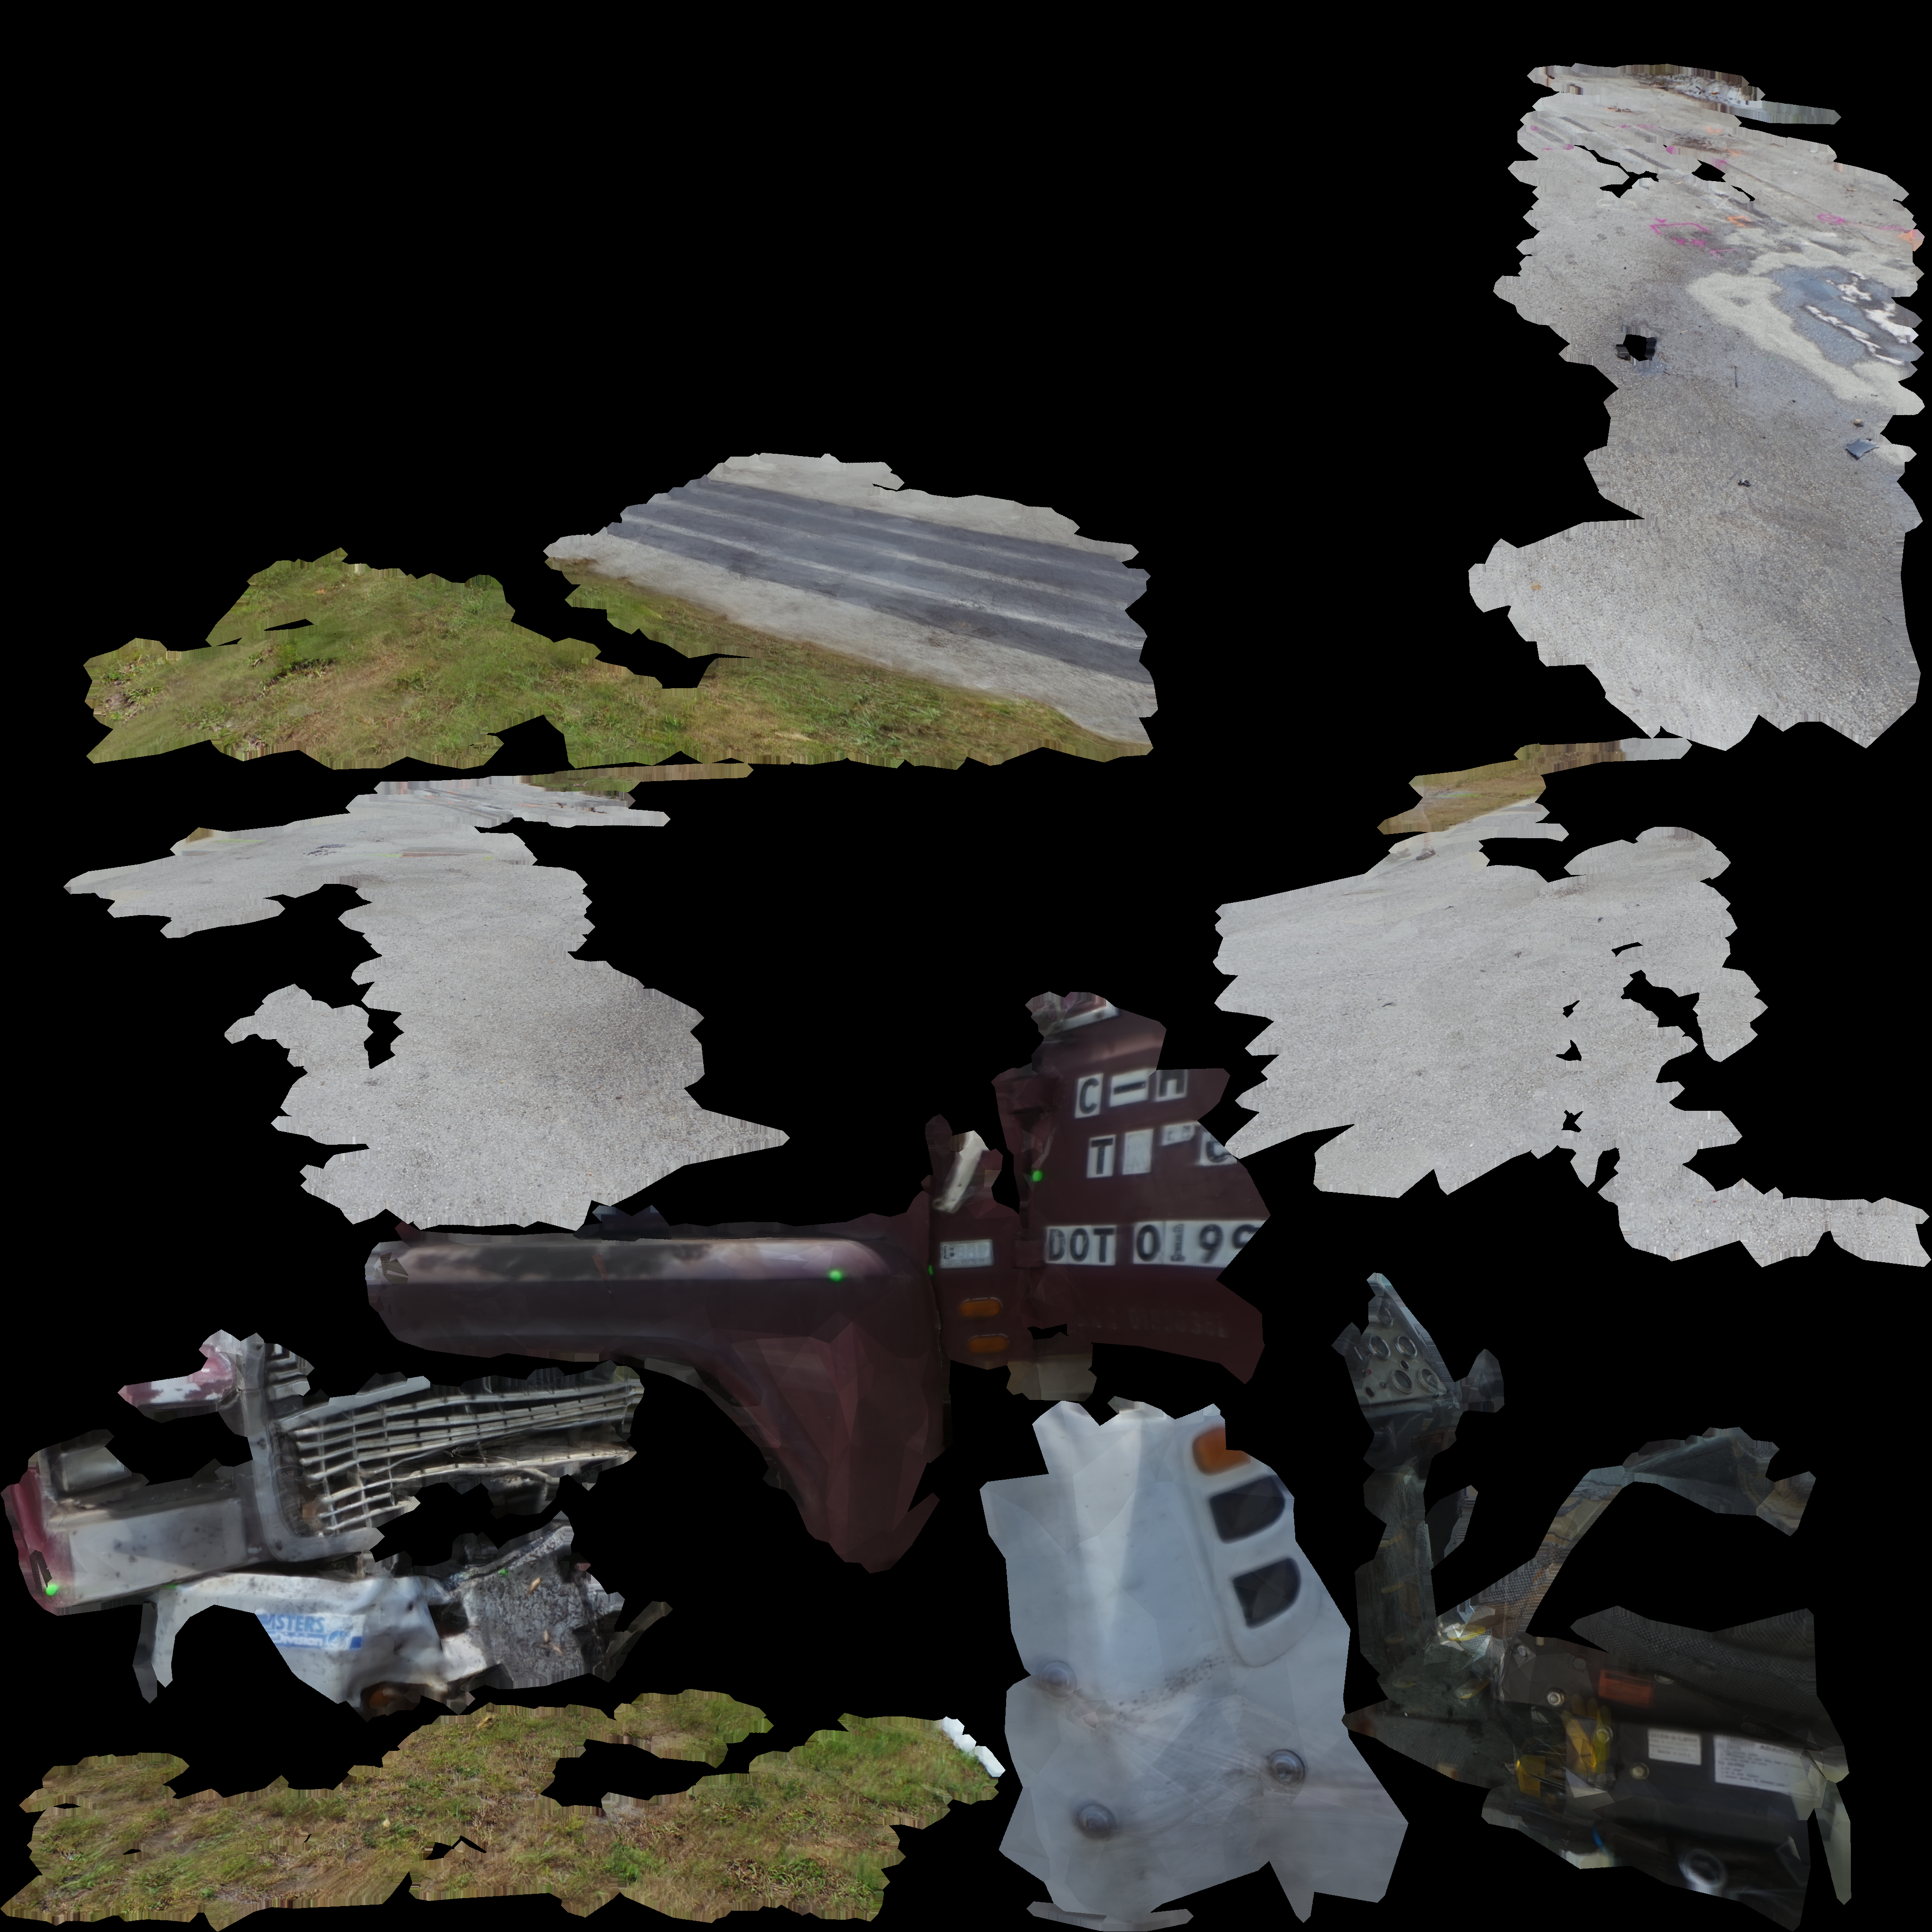
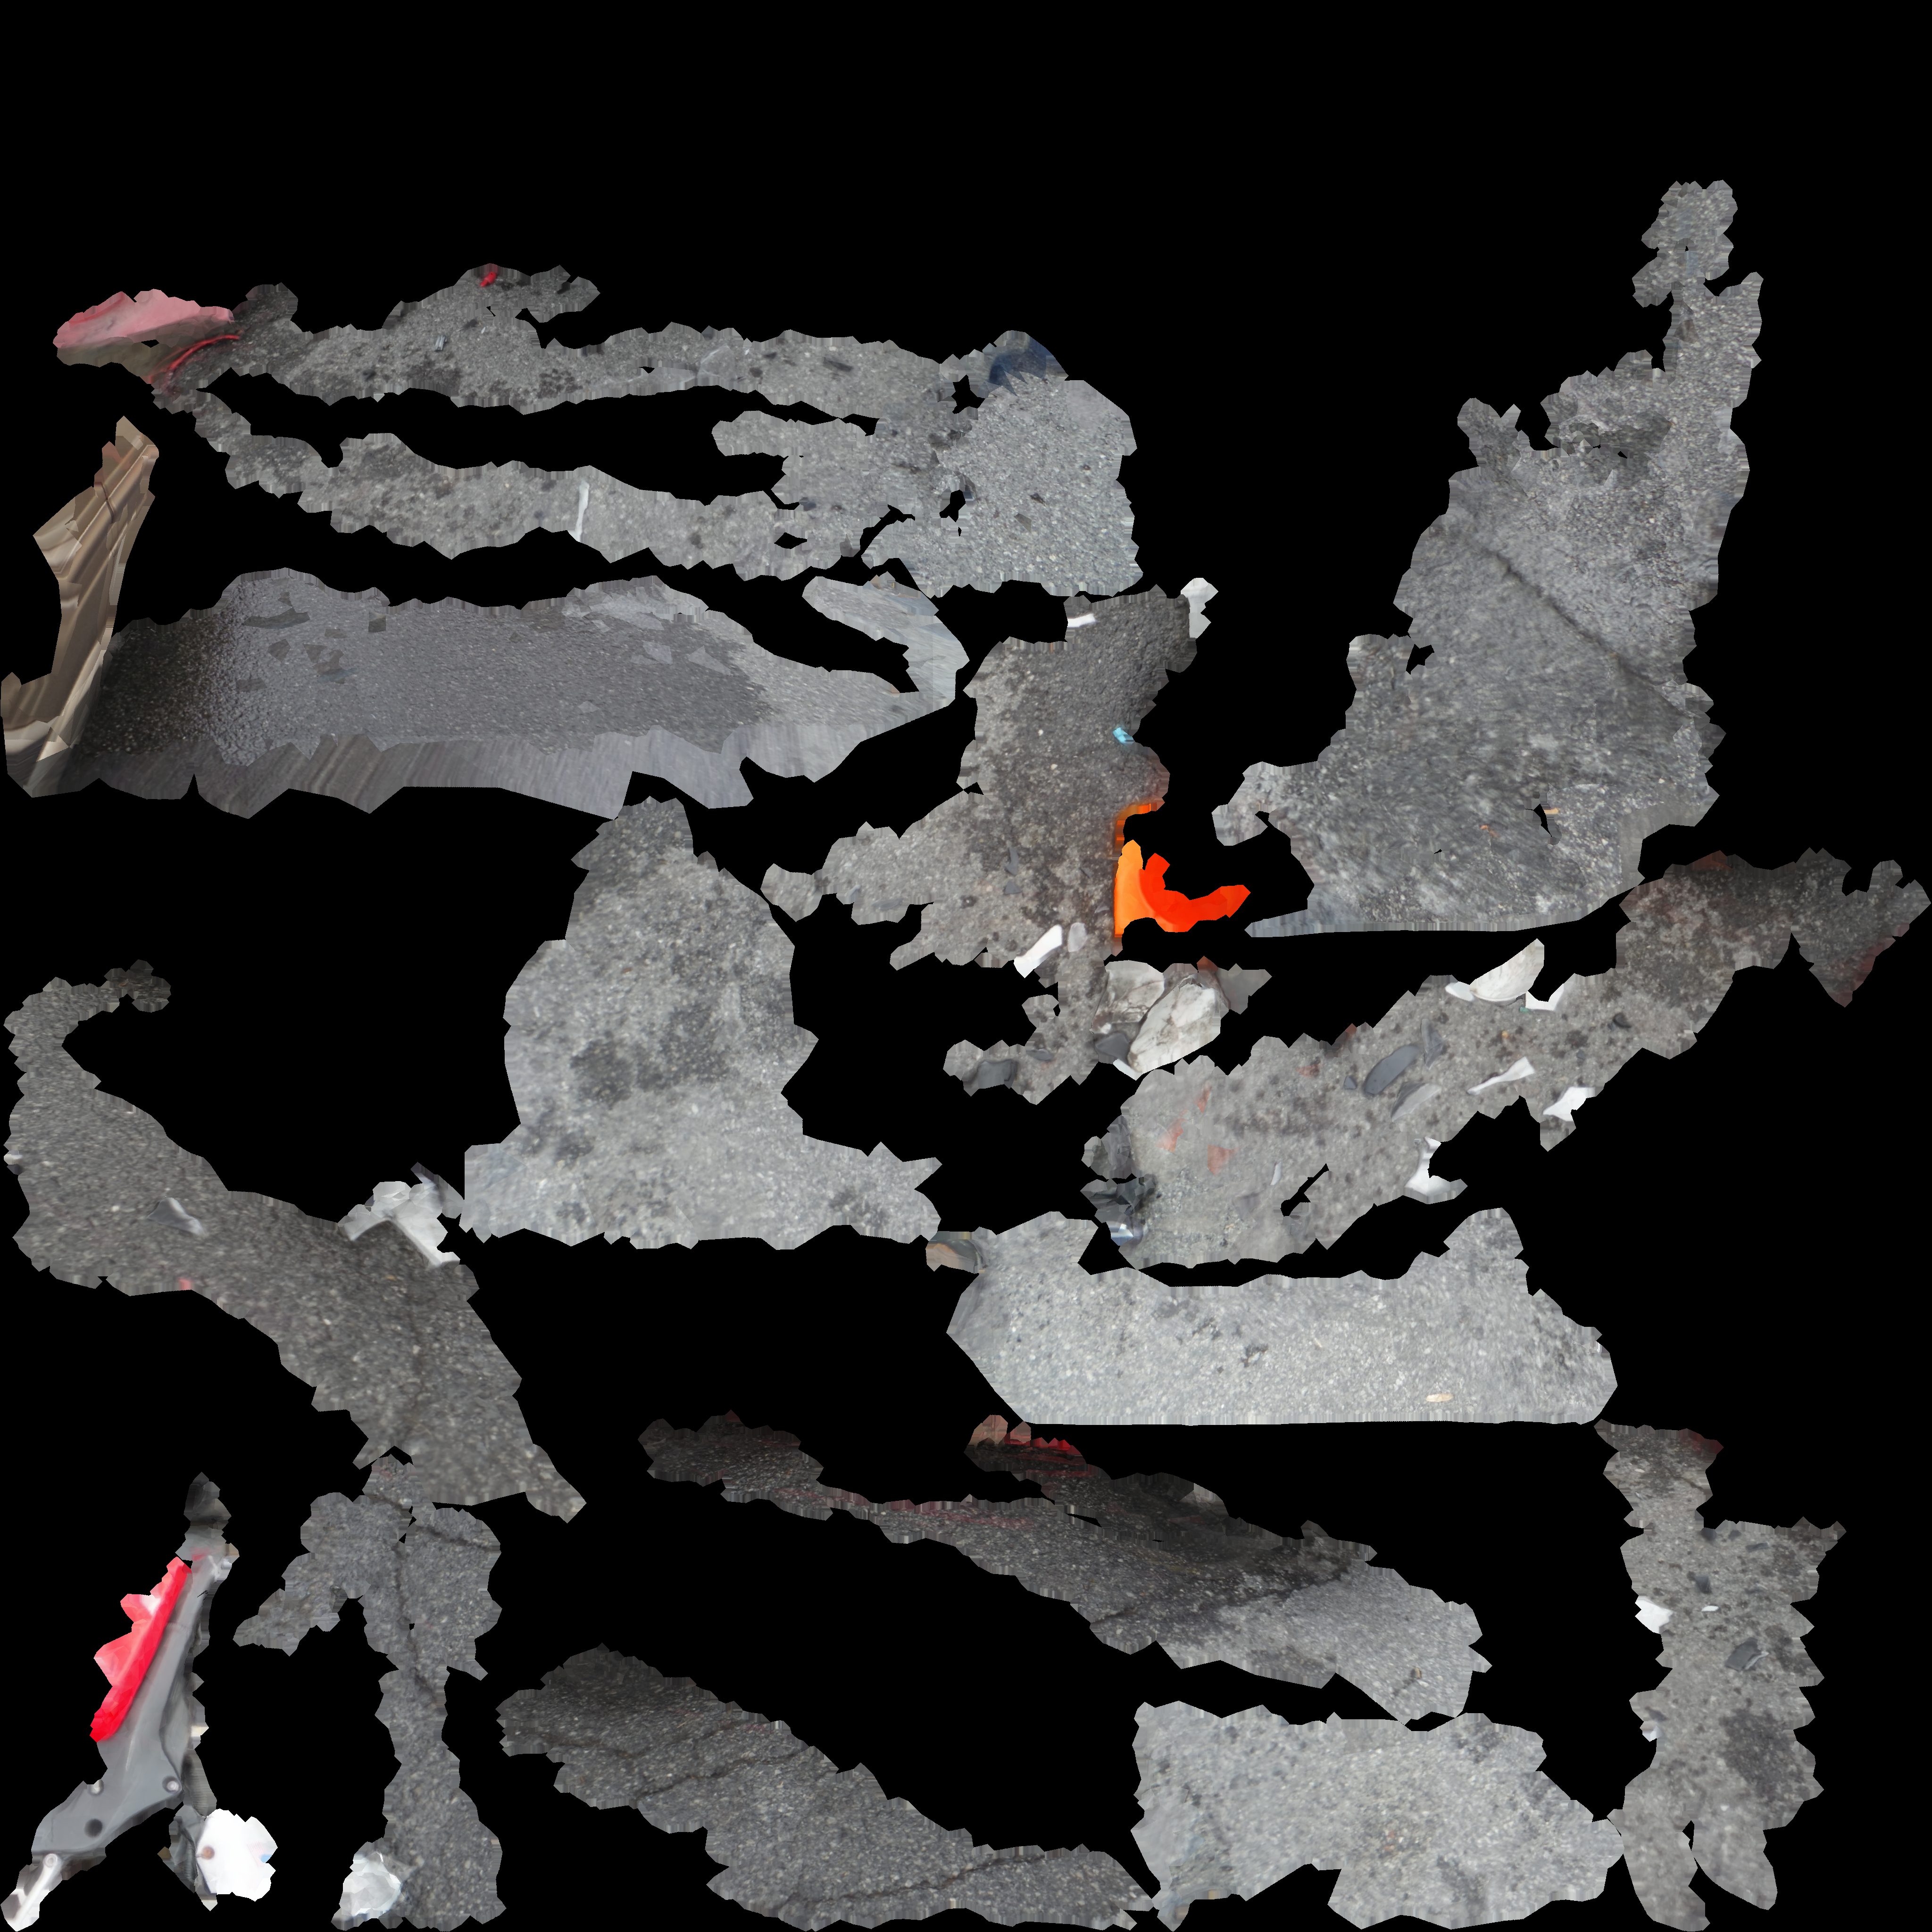
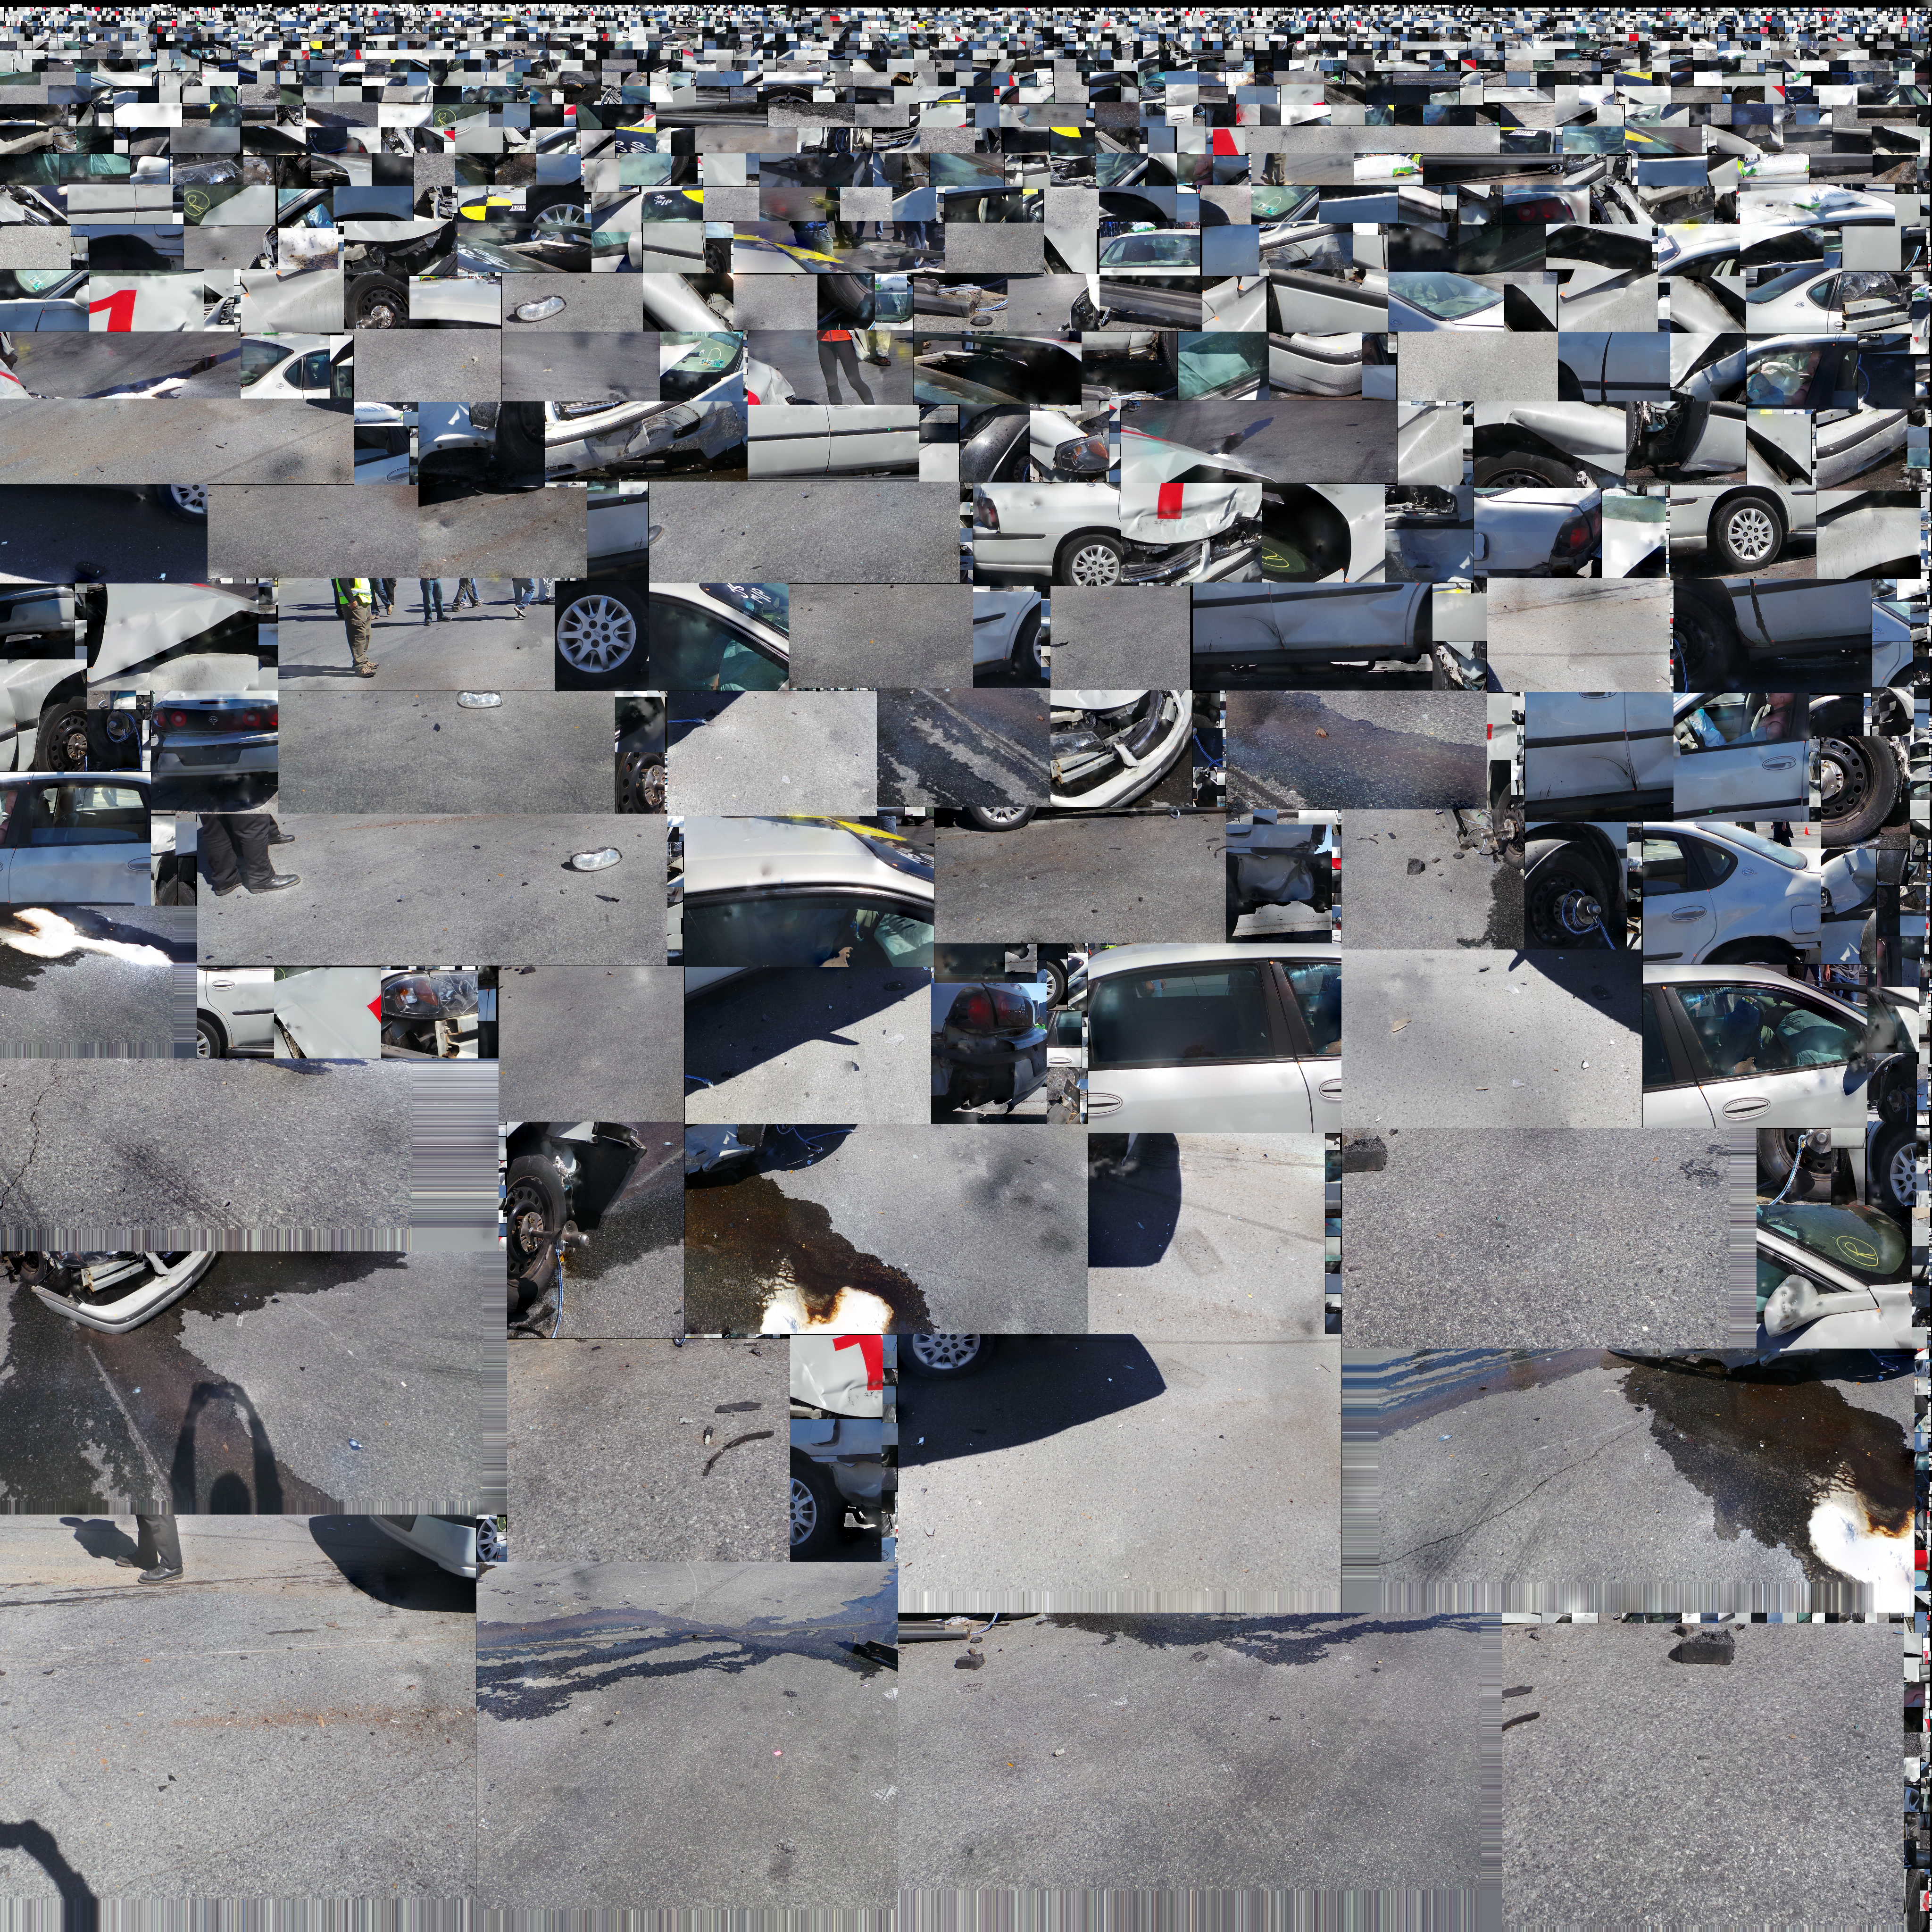
Car Model After Crash: Textured Mesh Reconstruction
Textured model can be visualized with Meshlab. In Meshlab, click to turn off the light to get better visualization result.
Download Meshlab software from here.
Download the model and the texture file below. Place them in the same folder. (Tips 1: When Meshlab opens the model, it looks for the texture.png file to texture the model. Without the texture.png file, the model would look like plain gray mesh. Tips 2: Make sure this folder has no texture images in it. Otherwise, the texture image will be renamed while downloading. And the model will fail to locate the correct texture.)
See here for instructions on 'Import mesh reconstruction', 'Operate with mouse, keyboard, and menu buttons', etc.
