In this assignment you will control a real segway-style robot, as you did in simulation for Assignment 2. The robot was built by Garth Zeglin and is in the REL.
Using the robot
Steps to using the robot:
- Plug in the serial port if necessary.
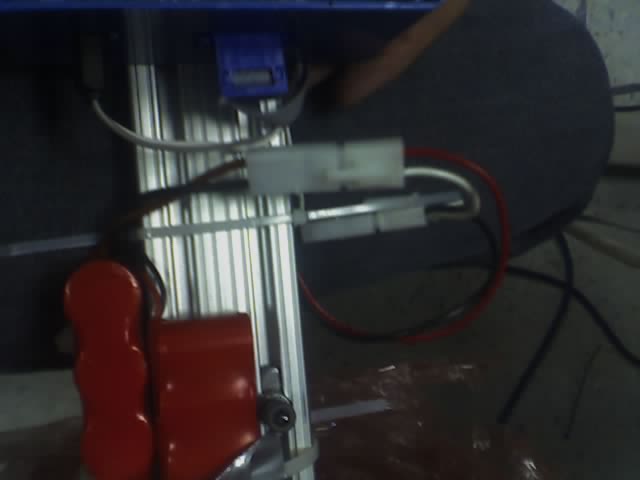
- Plug the motor batteries to the motor board. It may spark,
which is okay. The motor batteries are the two larger packs
on the sides. They are wired in series.
- Plug the computer board on the robot into its battery. The
computer battery is smaller and the wires are thinner.
There
may be a communications glitch between the computer and the motor
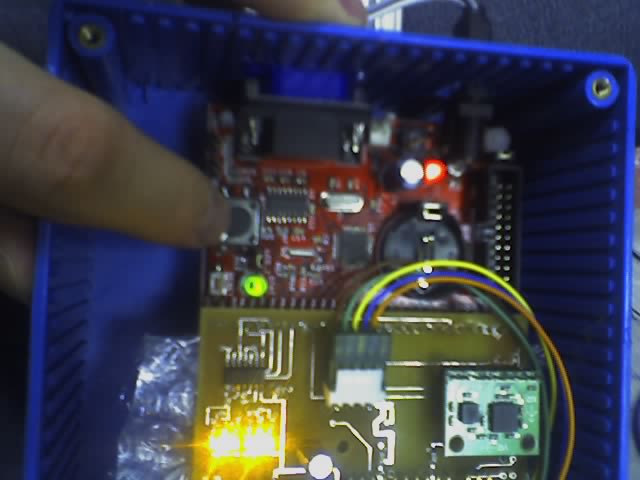
board. Test that the computer board can talk to the motors by pressing the
black button on the board and turning the wheels. If they resist, it's
working. If not, unplug the board and the motors, and go back
to step 2. You can try plugging in the computer board first,
but it should usually work when the motors are plugged in first.
- Test communications with the robot. Open a terminal window on the linux computer and run "minicom". If you want to do this on your laptop, the settings are 115200bps, 8 bits, no parity, or "115200 8N1". If it's working, a flood of numbers and letters will run by.
- Close minicom by typing
Ctrl-A X. - The clear plastic tail drags on the ground, and the attached encoder provides an absolute measurement of vertical. When the robot turns on, it assumes that the current encoder reading represents straight upright. If you plugged in the computer board while the robot was not standing straight up, you can reset the computer board by pressing the tiny reset button beside the motor test button. "RESET" is printed on the board beside the button.
- Run your control program. Quit with
Ctrl-C.


Safety
The robot is equipped with a bubble wrap helmet to protect it in case of a bad fall. However, please avoid dropping it or letting it fall over. If you push the plastic tail sideways, it can easily break the encoder shaft. Please be careful. If you need to handle the robot extensively, you can slide the tail off the encoder and set it aside until you need it. This robot is not as powerful as the pendulum robot, but it can still move away from you very quickly. Please keep your hand close to grab it.
Charging the batteries
We will try to keep the batteries charged, but if you have to charge them, here is the procedure. The battery chargers are "Electrifly Peak 400" chargers. Plug the clips on the 12VDC input to the 13.8 Volts output of the Hobbico. Plug red to red and black to black. You may plug both chargers in at once.
Rest the charger and robot on the floor. Set the "CHARGE CURRENT" switch on the charger to 1.2A. Turn on the power supply. Plug the battery into the charger. Hold down the "START" button until the "NIMH" light turns on. When the battery is charged, the lights will start flashing again. The battery will have enough charge to use sooner than that, so you don't have to wait that long.
The code
You may downlod the code here.
A copy of the code is already available on the REL computer at
/root/balancer-code.zip.
Unzip the code and build it by going into balancer-code/ArtLPC/Balancer and typing make -f Makefile-POSIX. Then run
POSIX/lqr-test. Modify the file
linear-control-pitch-encoder.c. Communication
protocol code is in serial-robot-interface.c.
You may plug the robot directly into your own laptop computer. You can probably use cygwin on a Windows, or a Mac with OSX, or a Linux laptop. The robot uses a 9-pin serial plug. If your computer doesn't have a serial plug you may use the USB->serial adapter that is sitting on the desk. Please put it back when you are done. I can't provide support for the adapter. If you don't send a control signal for one second, the motors will shut off.
The Assignment
Part 1
Design a controller and state estimator to make the robot stand upright using the absolute vertical reading provided by the plastic tail. You can get a rough physical model of the robot at Garth Zeglin's page on the design of the robot.
Part 2
Design a controller to make the robot stand upright without using the absolute vertical reading provided by the plastic tail. You will need to use both the accelerometer and the rate gyro.
Part 3
From a standing position, drive the robot at least one meter and stop. Try to reach the highest peak velocity you safely can. You can do this with the tail, but it would be even better to do it without the tail, using the gyro and accelerometer instead.
Extra credit
Construct a ramp. Drive the robot up and down the ramp. Drive the robot in a figure-eight pattern.
Due date
The assignment is due Sunday, May 6. Mail a link to a web page describing how you did the assignment and the results you got to cga_at_cs and mmcnaugh_at_ri.
Links
- Here is a M.Sc. dissertation (link thanks to Kathryn Rivard) on a balancing robot.
- Trevor Blackwell of Anybots built his own Segway-style robot. His instructions.
- Another home-made Segway.
- An Introduction to the Kalman Filter