
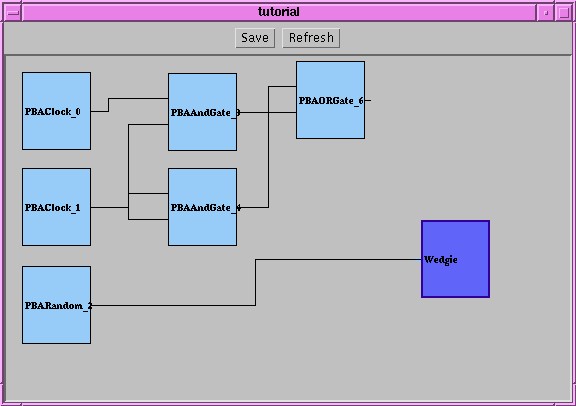
Here's my Wedgie.
Let's edit the system a little bit more!! First, shut down the
system. Now, let's change the name of one of "PBAPrint_7" to
"Wedgie". To do this, right-click on PBAPrint_7 and select
"properties". A dialog box will appear. In the "Name:" field, change
"PBAPrint_7" to "Wedgie" and click "OK". Here is a picture of me
about to make this change.
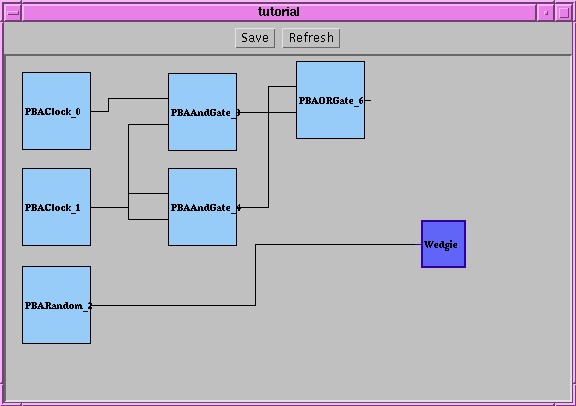
Here's my Wedgie.
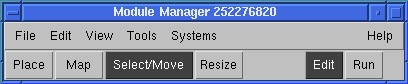
To delete a module, first click "Select/Move" in the Module Manager's
Menu Bar.
We're about to delete a module or two.
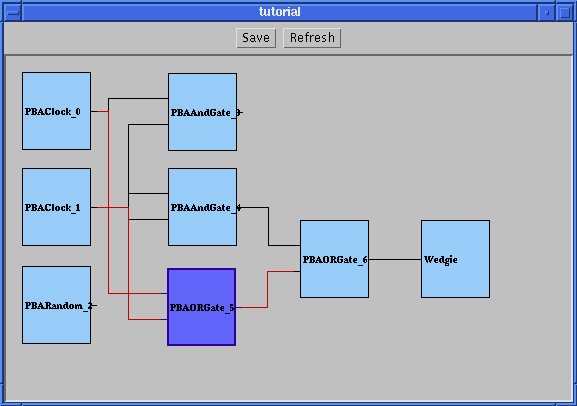
Let's get rid of PBAORGate_5. Once you're in Select/Move mode,
select PBAORGate_5 by left-clicking on it. This is what my system
looked like with the module selected.
I'm about to knock off the selected module.
The hi-lighted module should be dark blue, and the input- and
output-port connections of the module should be red. To remove this
module (be certain: there is no "Undo" feature that I'm aware of),
type the right delete key (DEL or Delete). The module and all the
connections should vanish. Now, we're going to move a module! Moving
a module is as simply as dragging the module to its new location. I
moved PBAORGate_6 and my system looked like this.
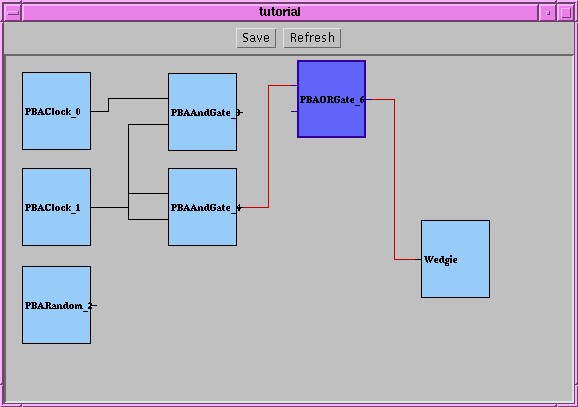
After deleting and moving a module.
Now, we're going to remove the connection between two modules.
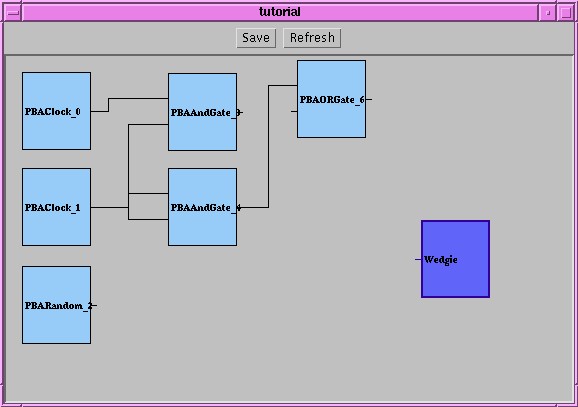
I'm going to remove the connection between PBAORGate_5's output port
and Wedgie's input port. First, select one of the modules (in my
case, PBAORGate_5 or Wedgie). Move the mouse over the connection that
is to be removed. That connection should be change color from red to
dark blue.

I'm about to delete the dark blue connection between PBAORGate_5 and Wedgie.
To remove the connection, hit the right delete key. Be careful,
if the mouse is not over the connection, the the selected module will
be deleted. My system looked like this when I deleted the connection.
I just removed the connection.
Connect the input of PBAORGate_6 to the output of PBAAndGate_6
(you must first select "Map" from the Module Manager Menu Bar). Also,
connect the input of Wedgie to the output of PBARandom_2. After I did
this, my system was looking pretty good.
My reconnected system.
Also, the size of module can be specified in two ways. One way is
to enter the dimensions of the module in the "properties" dialog box
(do you remember that from earlier?). The other way is to select the
"Resize" button from the Module Manager Menu Bar. Then resize the
module by dragging the bottom-right corner of the rectangle. This is
what happened to my system.
I just resized the Wedgie.
When I re-launched the system, the Net Controller wrote this as
output.

This is the last picture I am going to put in this tutorial.
OK, I would recommend saving this system since it took us so
long to get here. This can be done by selecting "File" then
"Save" from the Module Manager Menu Bar.
! You are now a certified
PB3A master. Feel free to play with the system and try new things.
Also, feel free to peruse the code that came in the tar ball,
especially the agents found in (where else?) the "agents" subdirectory.
This concludes our test of the emergency tutorial system.
Back to the Beginner's Guide.