

Computational photography project: automated panarama stitching.
My main panarama is McConomoy auditorium in Carnegie Mellon's University Center. I know, I know, "Wow, a room...", considering my dopplegangers and I appear elsewhere in another student't sweet panarama at Phipps Conservatory. These pictures are made passably interesting by being taken from inside the projection booth behind the auditorium.


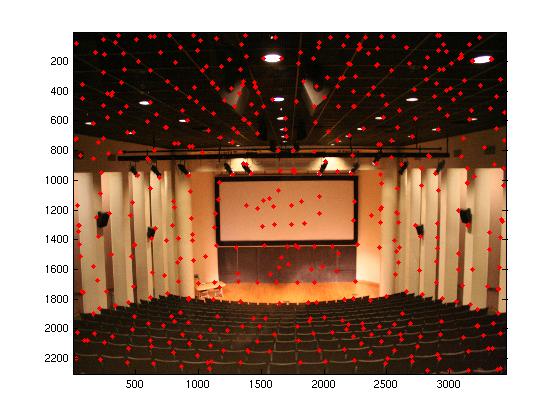
To automatically stitch images, we need to define correspondances. The first step is detecting points (usually corners) that can be matched in adjacent images. We look for these points based on Harris Corner Strength. That is, for each image, saturate it with interest points using a Harris detector, then use Adaptive Non-Maximal Suppression to end up with a desired number of the strongest points that have a wide distribution across the image. To illistrate the result, here are the 500 points not suppressed in the center image above:
We then extract feature descriptors (specifically 8x8 matrices of real numbers) that quantitatively characterize the image around each interest point.
For each pair of adjacent images, we isolate the interest point pairs that that most seem to uniquely describe the same real-world feature appearing in both images. That is, points whose feature descriptors are sufficiently alike and not similar to the descriptor of any other features. This creates correspondences between things that "look" the same while filtering out cases of ambiguity.
Now we must find a homography that warps one image into the image plane of the target image. We use RAndom SAmpling Consensus to find such a homography. Essentially, repeatedly randomly choose four correspondences to define a homography and count the number of inliers (i.e. how many of the correspondences did we get right). After some number of iterations use the homography with the highest consensus.
This allows us to warp the images into a single image plane (as shown below, the original image and then the warped version) where they can be stitched.

With the ability to warp images, you can do all kind of fun things. Or usefule things. For example, I took a picture of one of the academic buildings on campus, but it is angled up and away from me, as buildings are wont to be. By taking this image plane and computing H that rectifies the building face (which has a known geometrical structure. Hint, its not a trapizoid) I can approximate the appearance of orthographic projection.
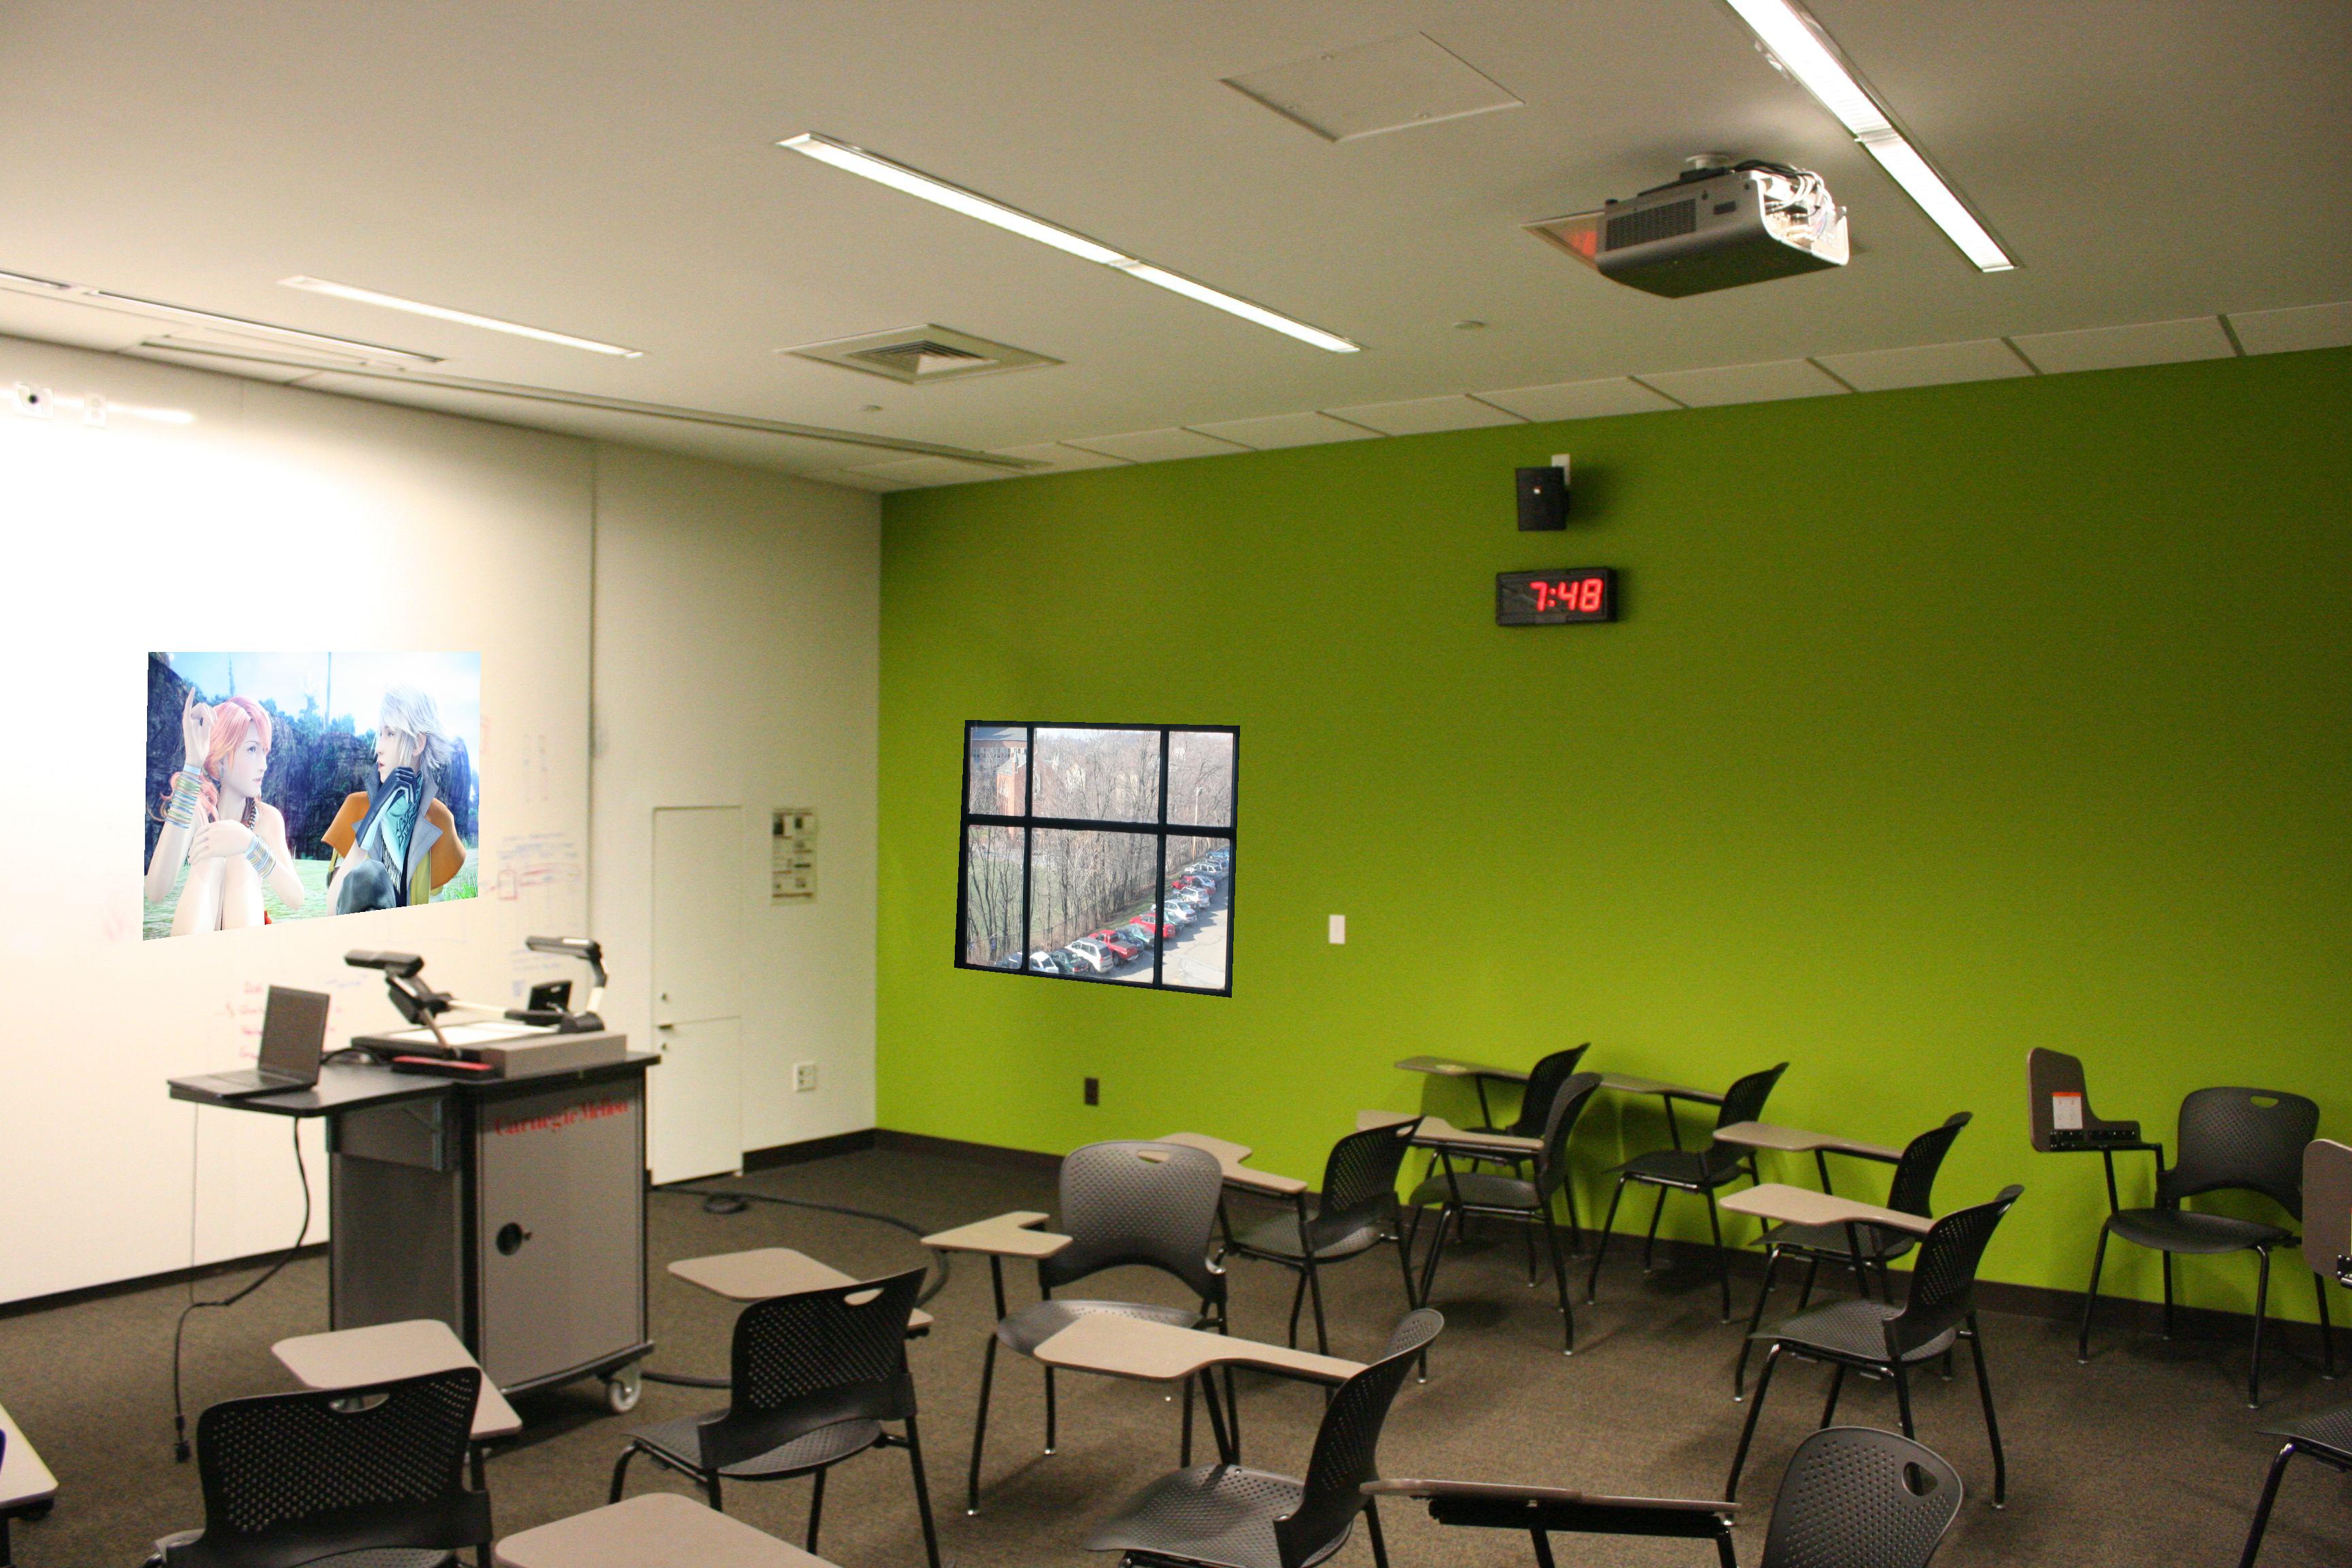
Or something fun. I decided the room where our 15-463 lectures are held should have a window to the outside. (I would very much like for that room to have a window to the outside.) So I took a picture of a window and warped it so that it could be placed into the wall of the classroom. The result is suspect because I imprecisely lifted the window out of the original image. I also decided to put some Final Fantasy 13 onto the whiteboard. Because I formly believe that all the whiteboards in Gates Center, when not in academic use, should act as displays for video games.
