
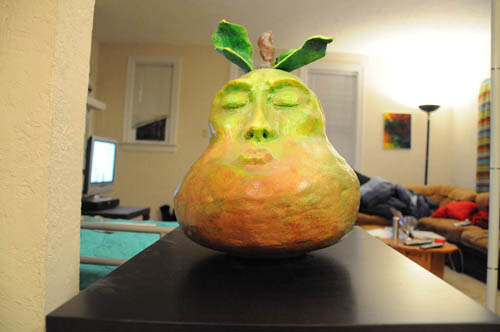


Sequence 1: Effect created by moving the camera backwards then zooming in on the object until it is the same size as in the previous photo.
Sequence 1: Effect created by moving the camera backwards then zooming in on the object until it is the same size as in the previous photo.


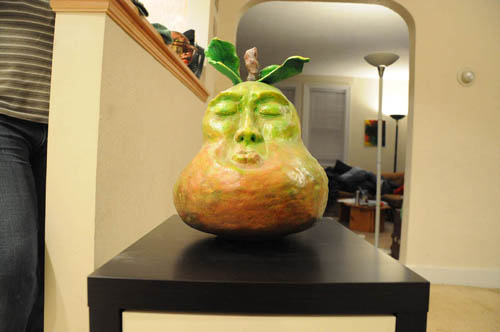
Sequence 2: Effect created by moving the camera backwards then moving the object forward until it is the same size as it was in the previous photo.


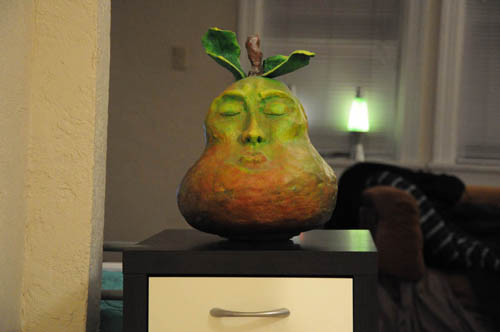
Sequence 3: Effect created by moving the object backwards then zooming the camera until the object is the same size as it was in the previous photo.
I used a Nikon D90 for this project and selected a cluttered hallway to take shots in. The first time I attempted a dolly zoom I used a less cluttered background, but I found this prevented the effect from becoming obvious. I eventually settled on this area because I thought the length of the hallway behind the subject and the busyness of the background would help accentuate the effect.
I tried several different combinations to get different sequences (as illustrated by those posted above). The most effective was obviously the first sequence, using the true dolly zoom (move the camera back, zoom it back in on the object). All combinations where the object had to be moved, I found to be much less effective.
I think most difficult thing about this project was trying to make the object appear exactly the same in each picture. Because I chose a sculpture as my subject matter, the slightest movement on the surface I placed it on was very obvious, and even with the guides on the camera it was difficult to recenter it properly each time.
I had a camera set up on a tripod so I would take a photo, move it back, then adjust the zoom. After this I took all my different sequences and brought them into photoshop, resized them, then animated them into .gif sequences using Photoshop's animation abilities.