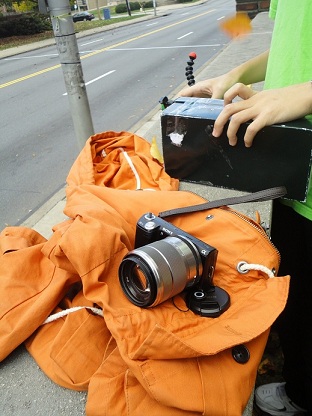

For this project, we designed a home-made pinhole camera ('camera obscura'), as described here. The goal is to take a photo of an image from a pinhole. To archieve this, we use a lightproof shoebox with a small hole on it, and put the camera inside the box to take a picture of the image.
We have used a small shoebox which we convered with black paper on the inside, except for the face on which the image is created, which we covered in white printer paper and expected to be hit by rays that enter the box through the pinhole. We tried to make the box as light proof as possible by tighten up the box and seal all the seams. First, we cut a hole on the shoebox that is slightly smaller than the lens of our camera through which we took the picture of resulting image. Next, we made a pin hole on the same side of the shoebox. When taking the picture, we put the camera right to the big hole and make sure there is no light leaking through the edges of the hole. As we don't have black tapes, this is ensured by 1) pressing the camera into the box; 2) use black paper to cover around the camera.
When taking the photo, we set the camera exposure to F4.0/30s (the maximum exposure supported by our camera). We also mannual set the focus before we took a picture.
|
|
|

| 1mm |  |
 |
| 2mm |  |
 |
| 3mm |  |
 |
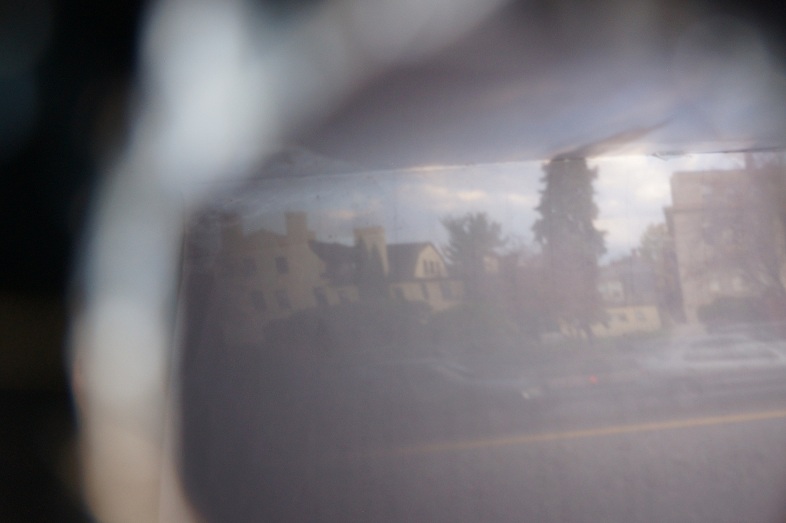
An image taken with two holes:

This picture is taken in my room (Yong He), with an exposure time of 1s ISO 80. Aperture is F2.8.
The flash light of my phone is used to do the drawing.

The following picture is taken by Corina Gurau.

