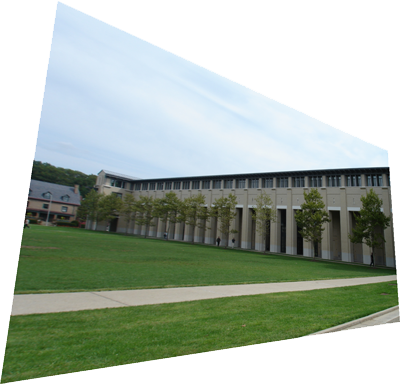
times square image from wikipedia.org.

times square image from wikipedia.org.
This project has two parts. In part 1 we make panoramas using manually defined correspondence points and perspective projections. In part 2 we make panoramas using automatically determined correspondence points.
| ORIGINAL |  |
 |
|---|---|---|
| RECTIFIED |  |
 (cropped for size, see uncropped version here |
Correspondences were manually determined then photos were warped and stitched automatically using some carefully worked out math.
I used a quadratic alpha blending function that performed alpha blending on overlapping regions of panoramas. Although such blending still produces ghosting (which could likely be eliminated using a LaPlacian pyramid), using quadratic as opposed to linear blending provided a mild improvement.
For this portion I can really see how important it is to take photos with significant overlap! Many of my photos had less overlap than I had wanted and I noticed quite a bit of distortion on the edges. This is particularly apparent in my trees photo, where the field of view is near 180 degrees. Cylindrical projection would help here.
| My Lab |  |  |  |
|---|---|---|---|
| Not bad, appropriate overlap |  |
||
| Flagstaff Hill, Cathedral of Learning |  |  |  |
| Should have had more overlap for rightmost image |  |
||
| Flagstaff Hill, trees |  |  |  |
| Way too little overlap. |  (cropped, original (downsized) version here (cropped, original (downsized) version here |
||
Manually specifying points is tiring. To create a panorama without manually specifying points, we can do it automatically! Here's how:
First, our source images
| Image 1 | Image 2 | Image 3 |
|---|---|---|
 |
 |
 |
First we extract 'interesting points' (implemented using the harris detector provided to us)
No points at edges because edge points were not allowed and the images for this particular example are small
| Image 1 | Image 2 | Image 3 |
|---|---|---|
 |
 |
 |
Then we pick a subset of these points using Adaptive Non-Maximal suppression (essentially, define a radius for each point which is the minimum distance to some other point that's larger than it, order the points by the size of the radius and pick the highest N points). I found 100 points to work well.
| Image 1 | Image 2 | Image 3 |
|---|---|---|
 |
 |
 |
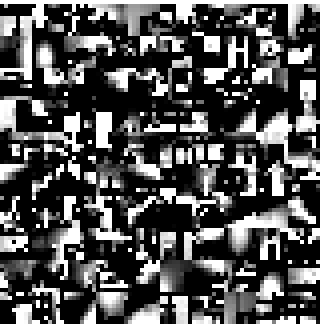
We then compute features for this subset of points using an 8x8 blurred patch at every interest point.
| Image 1 | Image 2 | Image 3 |
|---|---|---|
 |
 |
 |
Finally use RANSAC to find good correspondence points and compute homographies for these points to get interesting results. Below are examples of manual vs. automatically generated panoramas.
| Manual |  |
|---|---|
| Automatic |  |
| Manual |  |
| Automatic |  |
| More shots of the dev lab |

|
|---|---|
| More shots of the dev lab |

|
Inspired by the billboards in Times Square, I create a light-hearted homage to our instructor using homographies. Click for a larger image.
