Homography - Rotating the Camera
By selecting a minimum of four corresponding points, we can rotate the view direction of a photo by doing a simple homography transformation. This is the first step towards stitching images together. Here are two examples.
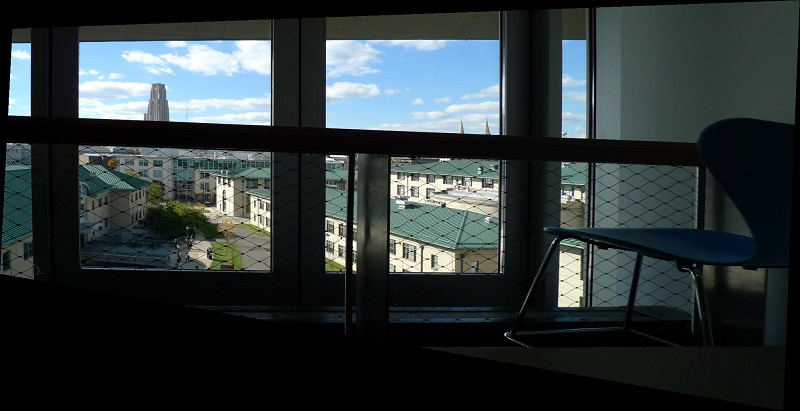
Example One: facing the window straight

Example Two: facing the other side of the building


Automatic Stitching
Instead of manually selecting corresponding points between images, we want the programs to do this automatically. The method implemented here used Harris detector and MOPS descriptor for the feature part, and then the ratio test and RANSAC for establishing correspondences.
Pyramid Blending
Once we found the correspondences of two images and transformed accordingly so that they align with each other, the only thing left is to blend them together. This would be trivial if the images align perfectly - but apparently, we cannot always count on that.
Firstly we need to find a boundary around which the two images blend. In my implementation, I used an arc that passes through the center of the overlaping area and has a relatively large radius - just for the ease of coding.
Then for the blending part, multi-level pyramid blending has been tried here. However, it's not really as useful as I had expected. Some results found below.
I first tested it on the classical example of apple and orange. This image is the blending results from 1-level to 6-level in row order. I didn't notice any significant differences even when zoomed in the full resolution results.

So I switched to two more dramatically different fruits, lemon and strawberry. Now we seem to have a tiny little bit of difference there. But still, almost the same, and I don't think it's worth the effort - or maybe I have implemented in a wrong way.

Panorama Recognizing
Now we can already make panoramas in a fairly easy way. But just to make it more automatic, the hope is that we simply throw a whole bunch of photos into the program, and it will figure out which of those can possibly stitch together, and how.
1. Find those that form a panorama
Thresholding on the number of correspondences found, we can get a graph with photos as nodes
and edges connecting "stitchable" photos. Each connected component that has more than one node
is then recognized as a panorama group.
2. Center photo of the panorama
Usually, we may want to find the photo that's approximately at the center of the whole panorama to be the projection plane
so that distortion could be minimized. The way I did it is to pick the node whose average distance to other nodes in the component
is the smallest.
3. Which stitches with which
Since we are working without bundle adjustment, it's really only a tree structure that guides the program to stitch everything together,
instead a graph.
So it also needs to figure out which spanning tree out of the connectivity graph to use.
Naturally, we would wish to pick the pairs that have more correspondences.
I therefore used the maximal spanning tree with the weights being those numbers of correspondences.
Some Panoramas
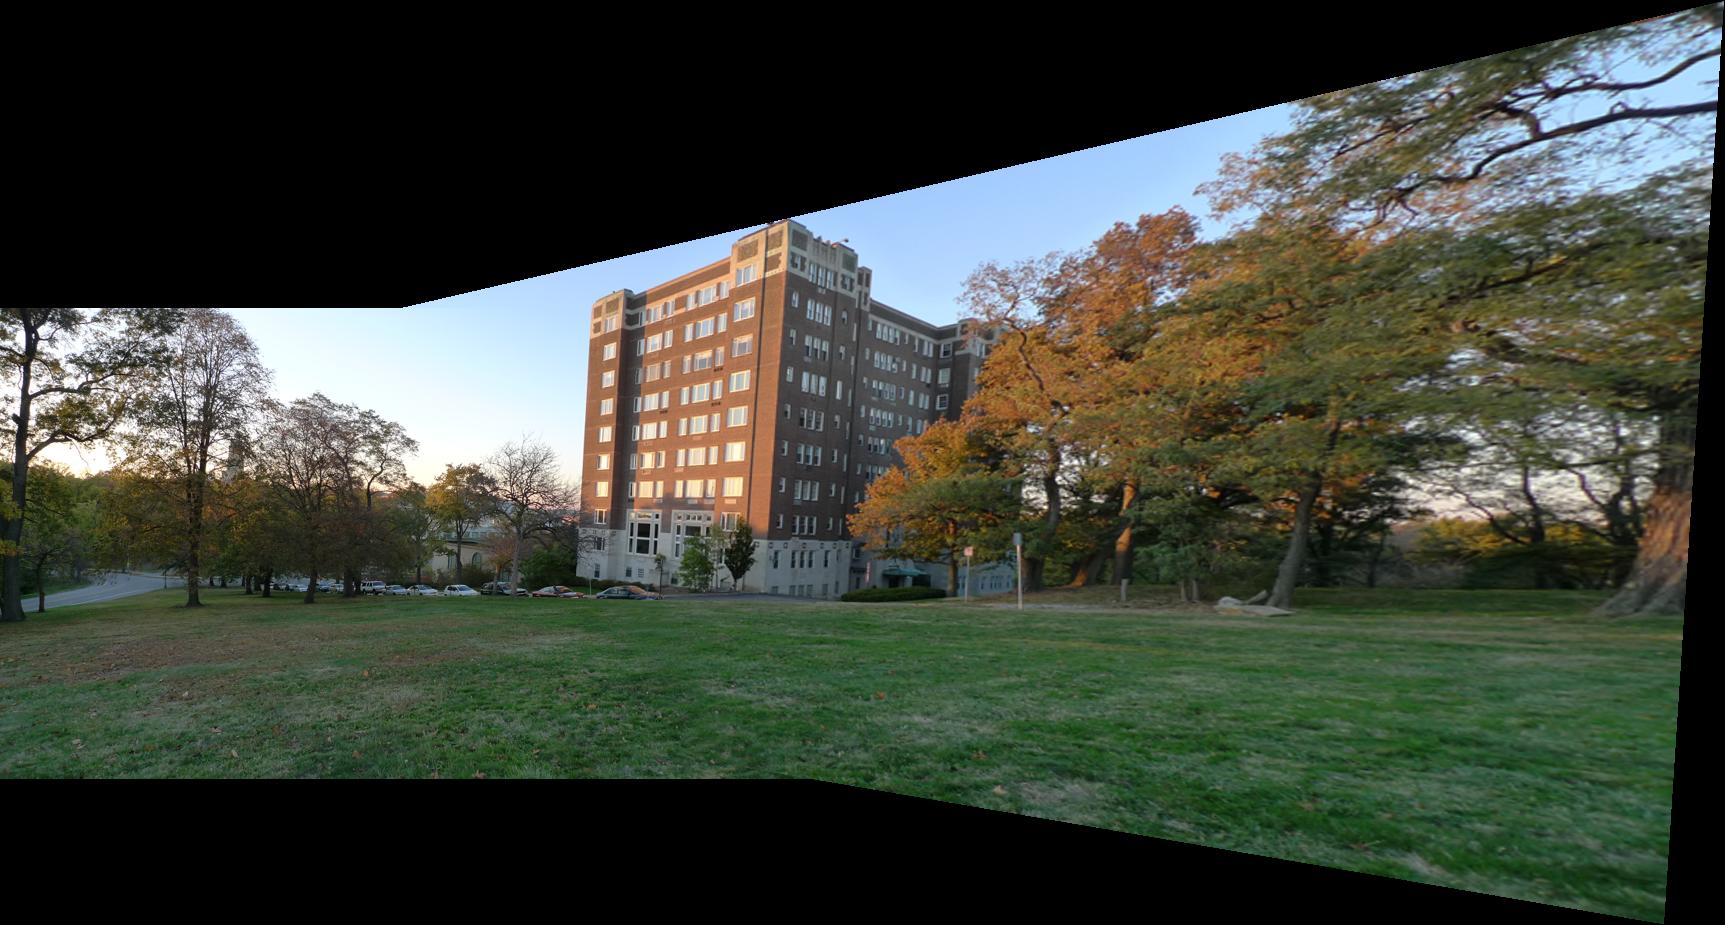
Example One: some building at the back of the campus (2 photos)
Example Two: downtown Oakland (3 photos)

Example Three: somewhere in Gates (3 photos)

Example Four: somewhere on the Penn Ave (3 photos)
forgot to switch to manual mode to keep the settings same across photos...

Example Five: outside WestPenn Hospital (3 photos)
see that shadow car?

Example Six: xj's bedroom (7 photos)

Example Seven: complete version of this bedroom (19 photos)
in the last section of this page along with some other results...
Cylinder Warping
The 6th example above warped onto a cylinder for more compact view

And of course, things are always better after croped

Another two warping results with smaller radius and larger radius.
Tour into the Picture
Manually point out the back wall and the vanishing point, and then warp the image accordingly onto a box - it's that simple and pleasing. In the examples below, first image is the original one. And then it is followed by one or two novel views.
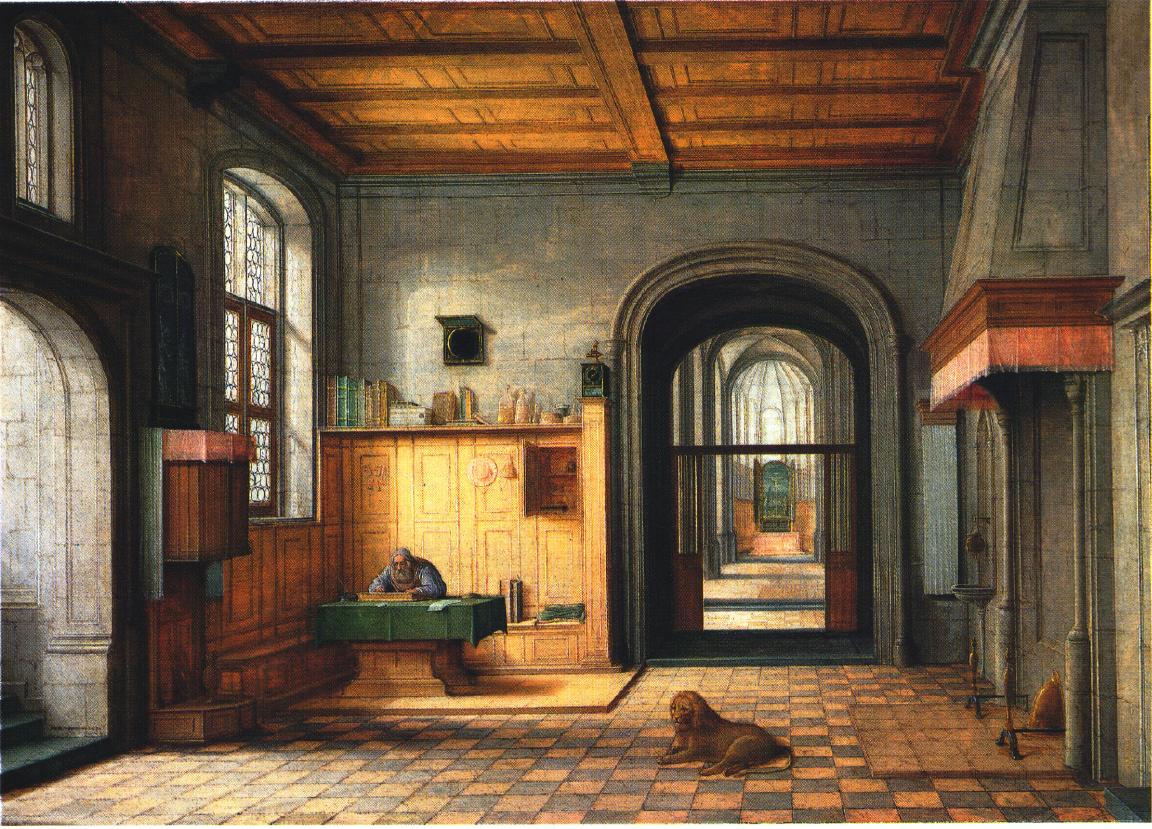
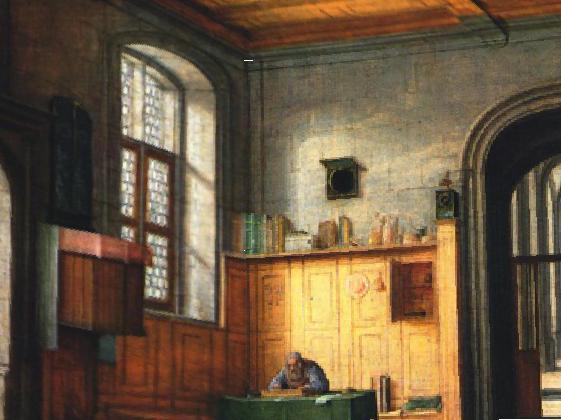
The painting
Hallway in the Wean Hall


Somewhere UC


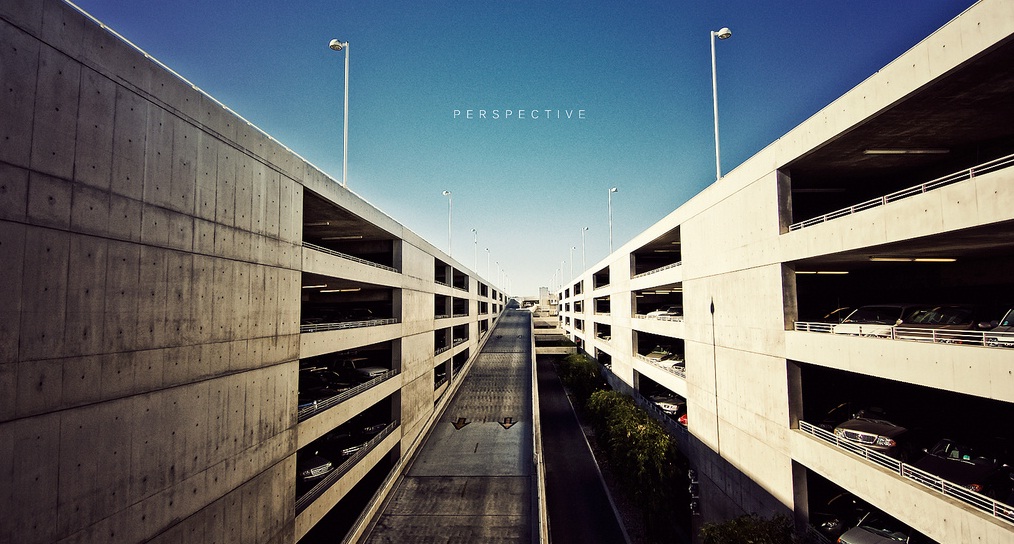
A strong perspective photo from flikr


Some cute room, from flikr


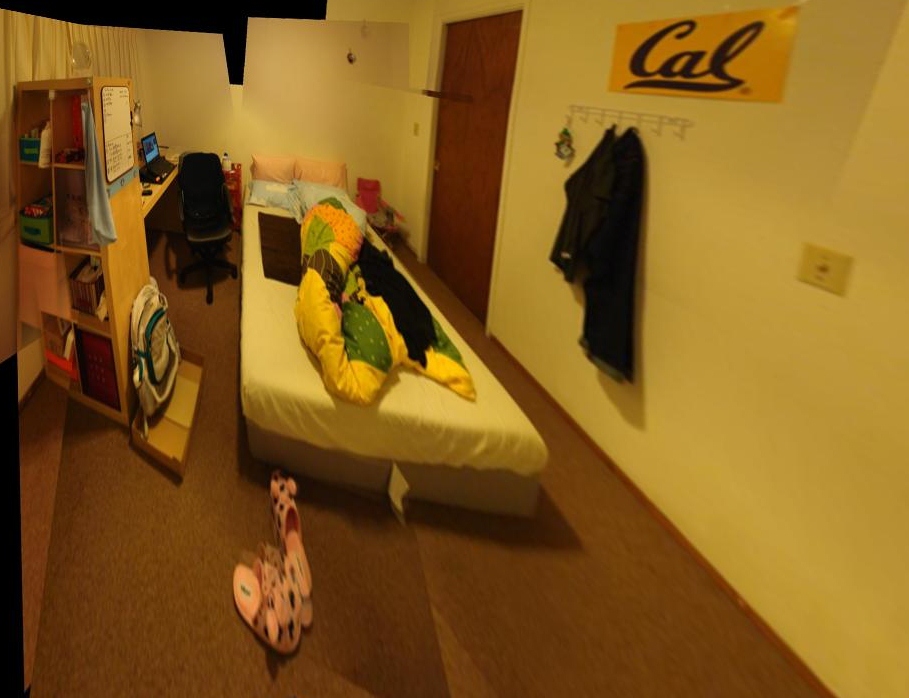
Things Together - A Messy Example
To see if the automatic stitching algorithm really works, it's tested on a set of 19 photos of a small room.

While it managed to stitch everything together in a reasonable manner, there does come out quite a lot of ghosting effects where objects are not well aligned. But I guess it's just because things are really close and the photos were taken without a tripod. What's worse, in the original set of photos the radial distortions are significant near the boundaries, possibly also due to the small distance between objects and the camera.
Looking at this panorama, we could see that the vertical lines, instead of being vertical, are actually converging somewhere below - primarily because the center photo is taken with a looking-down pose. To get it straight, it's natural to use the 4-point transformation mentioned in the very beginning of this project. And here is the rectified photo.
Then since it's a perfect box structure, we'll be able to tour into it using the piece of code just above.

Well... just roughly the right feeling...