Computational Photography
Project 4
Ricardo Cabral
Part 1
The outline of the algorithm is as follows:
1) A set of point matches are found in both images (i tried manual selection with cpcorr with not so nice results, so i resorted to VLFeat's SIFT code to find a set of 20-so matching features in both images).
2) Then, given these correspondences we find a homography from img1 to img2, with which we find the position of the corners of img1 in the referential of img2, so we dynamically the size of the panorama canvas as the absolute value of the difference between the max and min coordinate of the coordinates of both images in the same referential.
3) Then, we calculate the inverse homography so we are able to do an inverse warping of all points of img1.
4) The final image is obtained by superimposing both pictures (img1 transformed and warped and img2 translated).
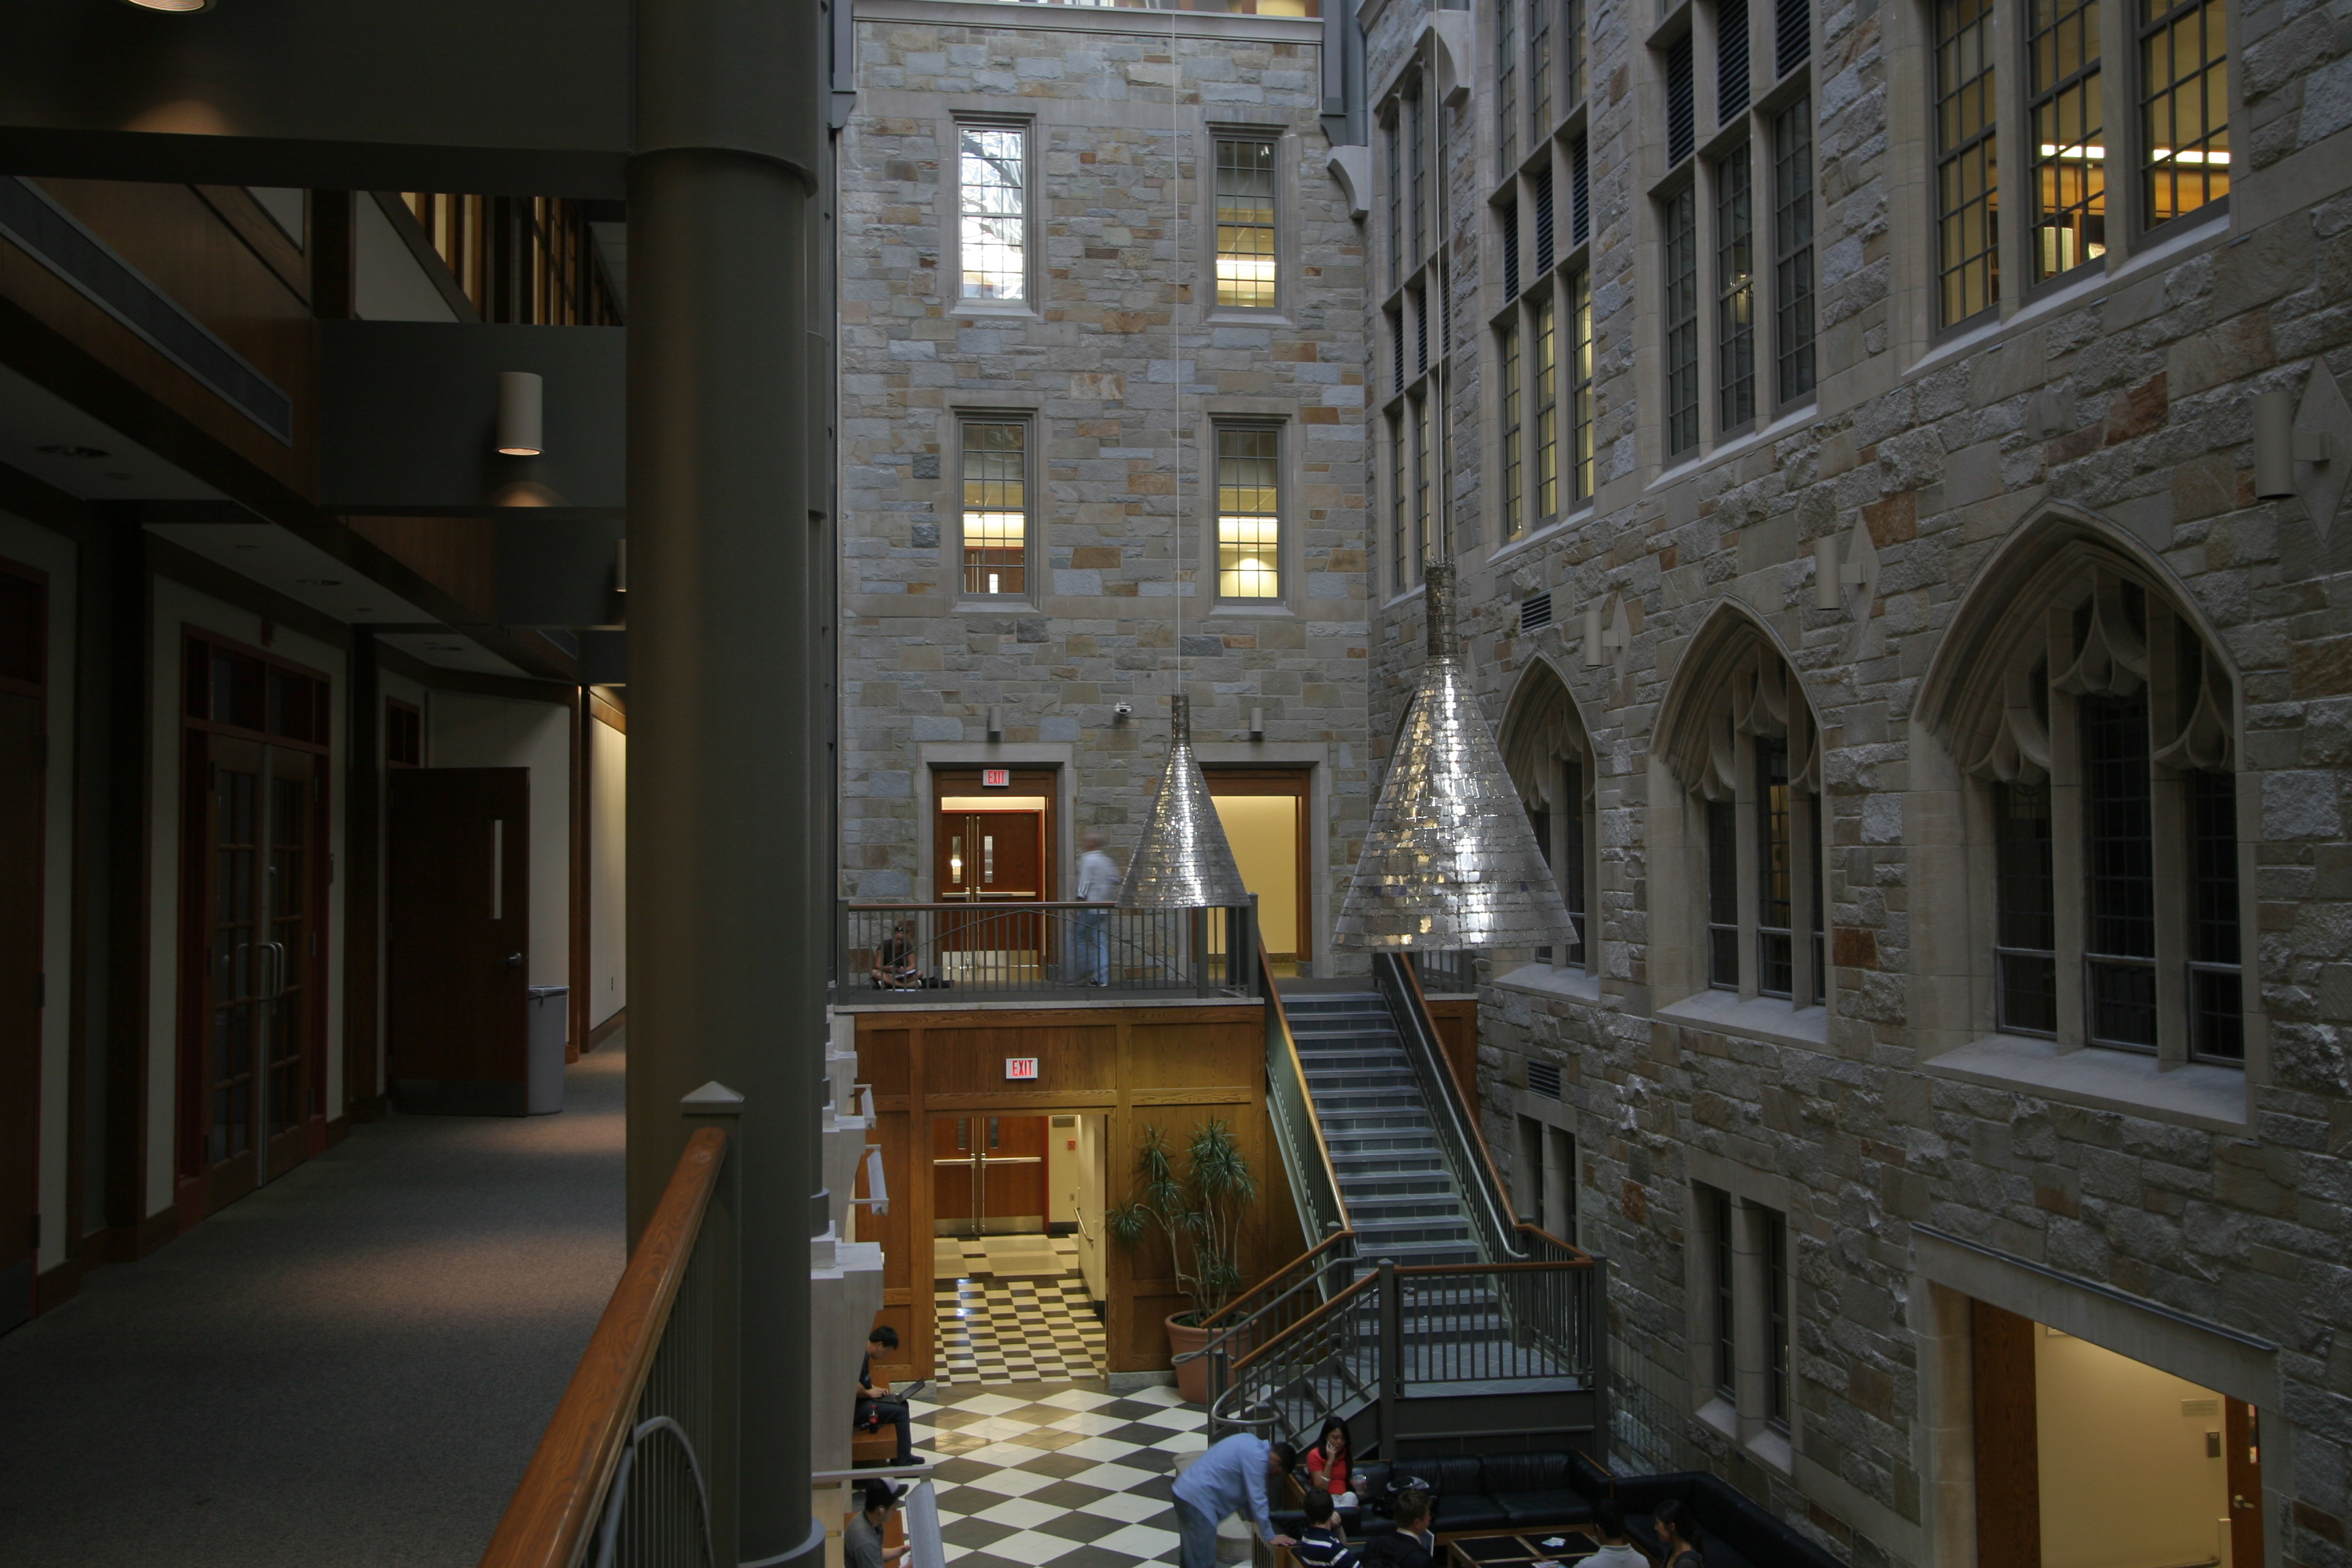
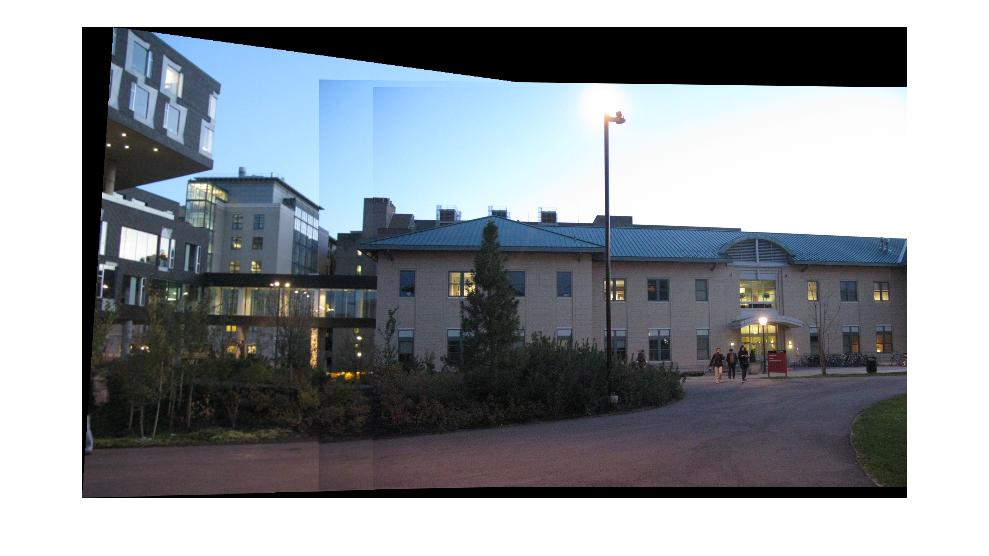
The obtained results follow (the first triple was found on the internet, since i started the code before taking my own pictures):
(To see full-size, open images in a new frame)
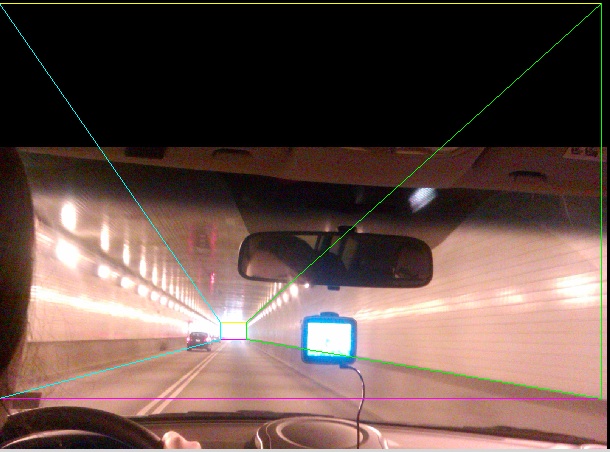
For the rectification, the process is the same except we don't have a second image, so we dynamically find points in a virtual second image so as the picked points on the first map to a rectangle. The results are as follows:
| Original | Rectified | Original | Rectified |
|---|
 |  |  |  |
(To see full-size, open images in a new frame)
Part 2
This part is about finding automatic correspondences for computing homographies in part 1. The outline is as follows:
1) Find interest points using harris point detector.
2) Sort interest points by the criteria in ANMS and take the best 500.
3) Use RANSAC to (this is the tricky part, as i had to spend lots of time tweaking parameters: epsilon 15 and max_iter at 50000 seem to provide the fastest run without plaguing the resulting output with outliers)
4) Compute homographies as in part 1 and build panorama
| ANMS | ANMS w/ orientations |
|---|
 |  |
Part 3
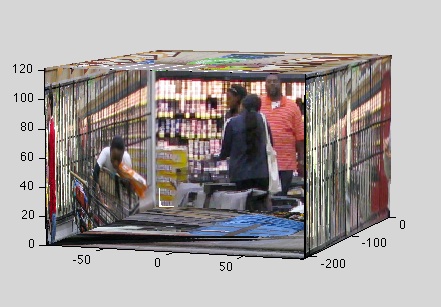
This part was really more about rendering than anything else. One important detail is the effect of depth in the resulting image. Since this is a parameter that has to be guessed (especially when there is no focal length, as is the case of paintings). To illustrate the effect of depth on the result, we provide the same painting morphed onto a cube with different depths:
| Too deep | Too shallow | Just right |
|---|
 |  |  |
Here are some more results for pictures taken using the TIP assumption:
| Image | Constraints | TIP view 1 | TIP view 2 |
|---|
 |  |  |  |
 |  |  |  |