Heather Strong
15-463 Fall 2008
Project 0: The Vertigo Shot
In order to complete this project I used a Canon PowerShot A560. Since this camera does not have image stabilization, the biggest difficulty in this project was taking sharp photos at a large zoom. When I was in an area well-lit enough that the shutter speed was fast even with the zoom, it became difficult to see the image on the camera’s preview window. The camera has the functionality to display gridlines on the image preview window, which I found extremely helpful for lining up a series of pictures reasonably well. On the other hand, the gridlines also made me realize just how much my hands move when I’m trying to take a photo. So although I was able to see approximately how I should line up the scene, holding it in that position long enough to press the shutter button proved surprisingly difficult.
Dolly Zoom 1 |
|
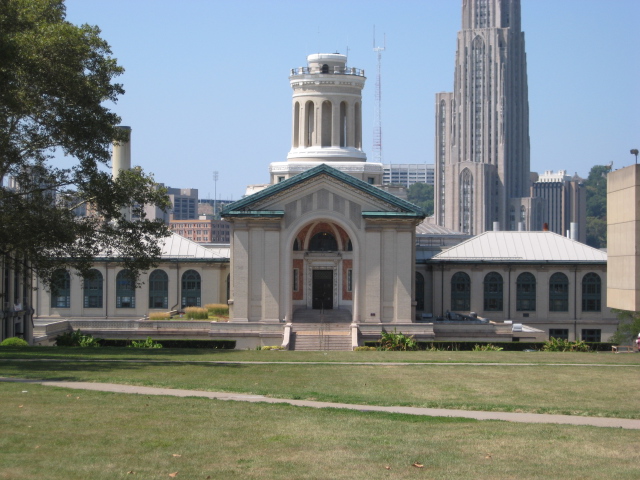
My first idea for a location to photograph was Hammerschlag Hall, since this building is one of CMU’s defining images. When I went out to take test photos to see if the scene would work well, I was pleasantly surprised how sharp the pictures were. I realized that it was the brightness of the scene that was allowing my shutter speed to get just fast enough that the pictures could come out nice and crisp. I took pictures from as far back as the CFA lawn all the way up to the last of the hills sloping down towards the building. It was this large span that created the effect of the Tower of Learning shrinking away dramatically. |


|

|
Dolly Zoom 2 |
|
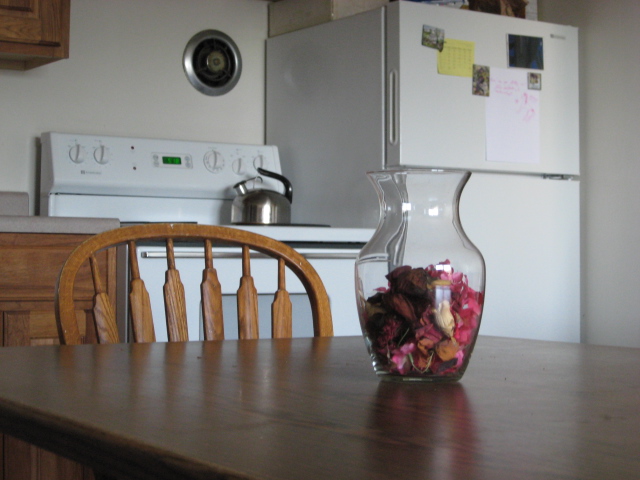
It took me a while to come up with a second scene to photograph, since I didn’t want to just pick another building as a subject. There are several areas on campus where we have lines of columns or trees that I thought would come out well, but I couldn’t use any of those because the shade in these areas slowed down my shutter speed too much. I finally settled on photographing the vase in my kitchen, because although this area was again somewhat dim, I was able to stabilize my camera on a kitchen chair enough to prevent blurriness. The vertigo effect in this series isn’t as strong as I’d like it to be, but this was the result of having too little space to move around in. |


|

|
Bells and Whistles |
||||
|
||||
|