Advanced Grasshopper Topics
Numeric Parameters
- Open a new Grasshopper file.
- Insert a Sets > Sequence > Sequence component and examine its input arguments.
- The default list length L is 20. Suppose we want to change this to 24. There are three ways to do it:
- Right click on the L and do "Set one number".
- Create an Integer component, set its value to 24, and connect it to the L input of Sequence.
- Create a panel, double click on it, type "24" in the panel, and click outside the panel to complete. Then resize it.
The benefit of the last method is that the parameter value is visible all the time, so we don't have to hover to see it.
- Hover over the I parameter and note that it contains two values. To put this data into a panel, we put one value on each line, and click on the "Multiline Data" option in the panel settings.
- Here's an atlernative approach: right click on the I parameter and choose "Extract parameter". This creates a number component.
- Create a panel and connect the number component to its input. Connect the output of the panel to the I input of Sequence.
- Connect a panel to the output of sequence and verify that it contains the first 24 Fibonacci numbers.
- Right click on the panel and play with the Draw Paths and Draw Indices settings.
- Exercise: How would you use a Sequence component to create a list of powers of 2?
Groups
- Groups offer a way to visually group parts of your computation to improve readability.
- Click and drag to select all the components on the sheet.
- Right click on an empty spot withing the selection rectangle and choose "Group".
- Right click inside the group to bring up the context menu, and type a label for the group in the edit box at the top.
- Right click on the group and try experimenting with the box, blob, and rectangle outline views by moving components around.
- Create a panel above your Fibonacci computation and type "Fibonacci" as the panel contents.
- Right click on the panel, go to Font Settings, and set the font size to 18.
- Right click on the panel again, go to Color, and set the color to some shade of orange.
- Click on the panel to make sure it's selected, then right click within the group and choose "add to group".
Expressions
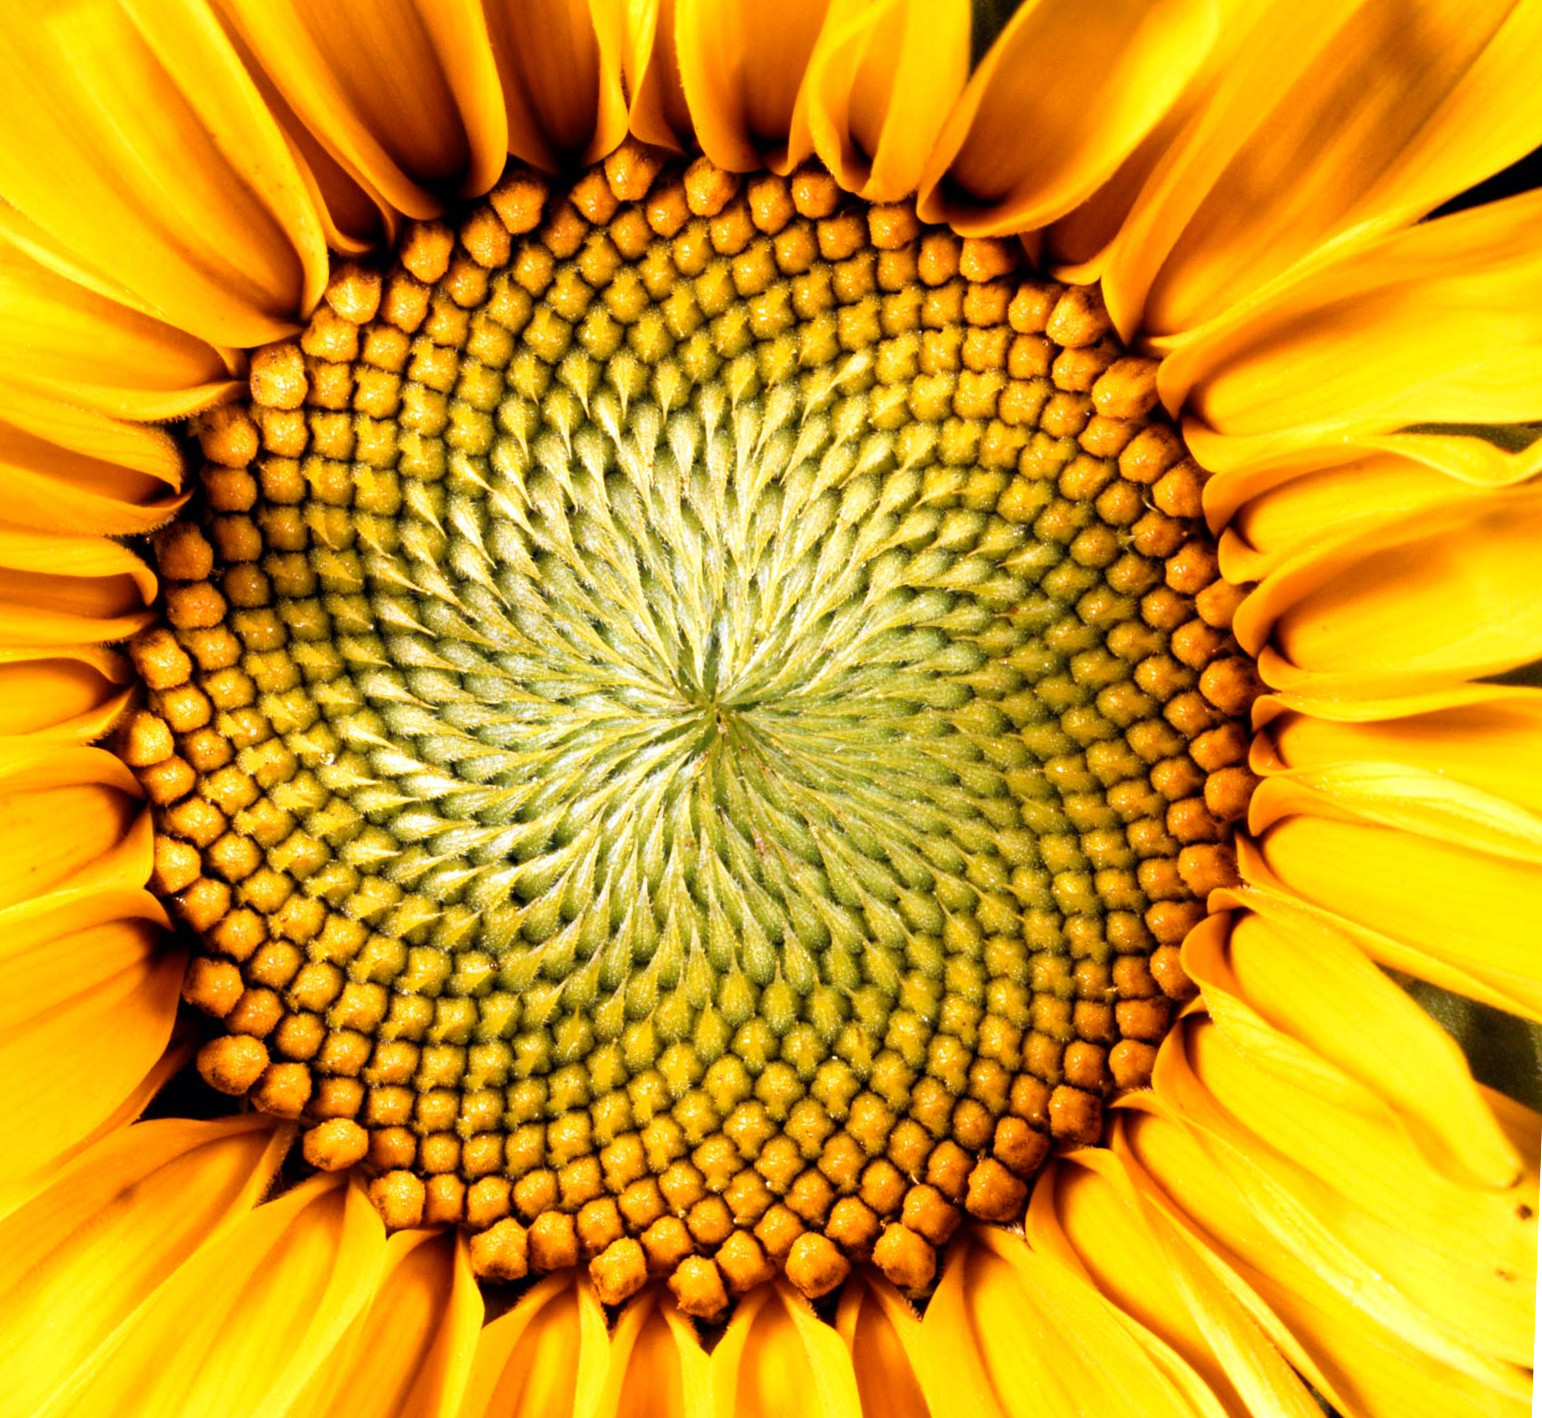
In this section we're going to create a sunflower pattern using a
"golden angle" of 360 degrees times (1 - 1/φ), where φ is the
golden ratio defined as (1 + sqrt(5))/2.

- Create a Sets > Sequence > Series component and set it to produce integers from 1 to 1000. Use a panel to specify the C value of 1000.
- Feed the output of the Series commponent into a Square Root component.
- Create an Expression component.
- Double click on it to edit the expression, and set the expression to x-1.
- Connect the output of the Series component to the x input of your Expression component. Leave y unconnected.
- Zoom in on the Expression component until the + and - signs appear. Use the - sign to eliminate the y input.
- To generate the golden angle, create an Expression component and set the expression to 2*pi*(1-1/phi).
- Zoom in on the Expression component and delete the x and y inputs.
- Run the output of the Expression component into a Math > Trig > Degrees component and verify that the
value is roughly 137.5 degrees.
- Create a Multiply component. Connect the "x-1" Expression
output to the A input of the Multiply, and the value of the phi
Expression (in radians) to the B input of the Multiply.
- Run the output of the Multiply component into Sin and Cos components.
- Insert two additional Multiply components and feed the Sin
and Cos outputs to their B inputs. Feed the output of the Sqrt
component to their A inputs.
- Create a Vector > Point > Construct Point component.
- Feed the outputs of the two Multiply components into the x and y inputs of Construct Point.
- Create a Curve > Primitive > Circle component.
- Use a Panel to set the R input of the Circle component to 0.75.
- Connect the output of Construct Point to the P input ofthe Circle component.
- Click on the Circle component so the circles are selected (green in Rhino) and the points are not (red in Rhino).
- Enjoy the lovely sunflower pattern.
Clusters
Clusters are a way of abstracting a Grasshopper computation so
that it can be used in multiple places. Basically, clusters are
Grasshopper subroutines.
- Create a new file.
- Insert a Surface > Primitives > Sphere component.
- Insert a Surface > Util > Divide Surface component and connect the Sphere to its S input.
- Flatten the P output of Divide Surface.
- Create two Sets > Sequence > Cull Index components. Run the output of Divide Surface into both their L inputs.
- Set the I parameter of the first Cull Index component to -1, meaning we will delete the last element of the list.
- Set the I parameter of the second Cull Index component to 0, meaning we will delete the first element of the list.
- Insert a Curve > Primitive > Line component and Run the outputs of the two Cull Index components into its A and B inputs.
- Observe the results.
- Now we're going to make this into a cluster so we can use it as a component in other programs.
- Create a Cluster Output component by typing space to get a search box and then typing "Cluster Output".
- Run the output of the Line component into the Cluster Output component.
- Delete the Sphere component.
- Create a Cluster Input component and run it into the S input of Divide Surfae.
- Click and drag to select all components.
- Right click within the selection and choose "Cluster".
- Right click on the cluster and choose "Export". Save your cluster as "MakeLines".
- Open a file browser and locate the file you created. It's a .ghcluster file.
- Create a new file in Grasshopper.
- Insert a Surface > Primitive > Cone component.
- In the file browser, click on the MakeLines file and drag
it onto the Grasshopper canvas. Notice that the parameter names
are reset.
- Connect the Cone to the S input of MakeLines.
- Observe the results.
- Double click on the cluster component to open and edit it.
- Click on the open cluster icon in the top left corner to close the cluster edit.
Hidden and Faint Wires
Use invisible wires to declutter your display.
- Insert a Params > Geometry > Point component.
- Right click on it and do Set one point. Draw the point in Rhino.
- Right click on the Point component and set its name to Banana.
- Use the icon next to the name to change the display mode so that the name is shown instead of the icon.
- Create another Point component far away from the first one. Set its name the same way as the previous one.
- Connect the first Point component to the second. Now we have along wire cluttering up the display.
- Right click on the second Point component, go to Wire Display, and choose Hidden. Now the display is decluttered.
- Create a Sphere component and connect the output of the second Point component to its B input.
- Right click on the B input to Sphere, go to Wire Display, and choose Faint. This is useful when you still need to see the wires but you don't
want to call attention to them.
|
