
The first set of images are for image rectification. Both images were taken in Wean Hall. All images were resized to a width of 640px to fit on the screen. Click them for the full sized versions.


The mosaic image is taken from the 4th of July 2004 in Boston. Originally a set of 13 images, I figured it was too much work for my computer to handle, and instead, limited it to the 3 center images. In these images, you can see the T barge in the river that they launch the fireworks off as well as some notable buildings. This uses a linear cross-blend along x-coord in areas of overlap. Original images:


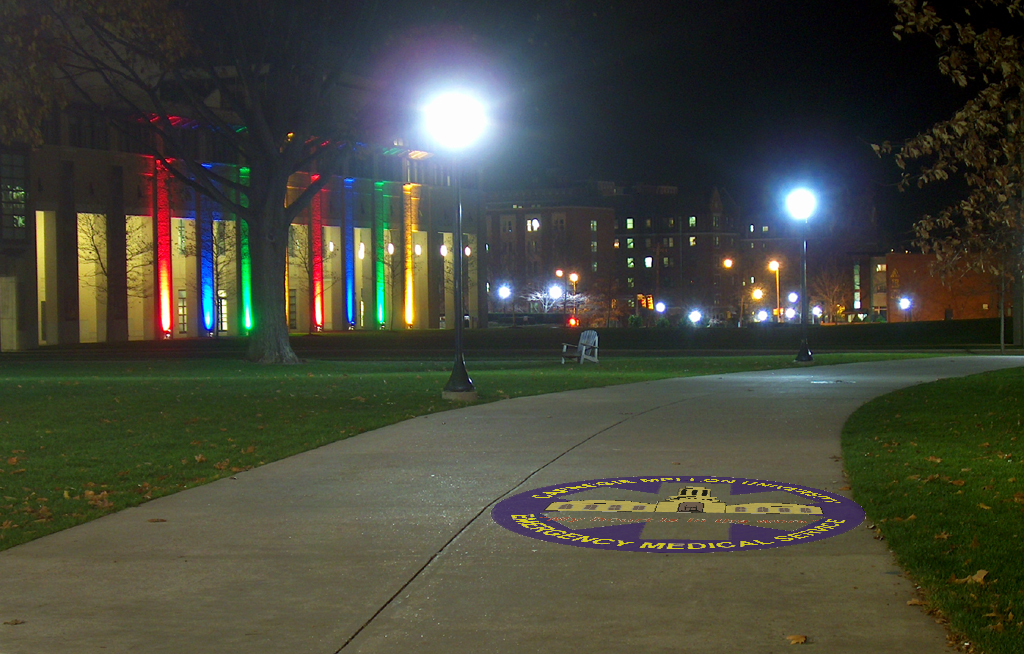
Adding some chalk drawing to the cut. Put the CMU EMS patch as a chalk drawing on the sidewalk. In making the mask, I added some texture to try to make it seem more chalky, but because of the angle, it's not very apparent. Original images:


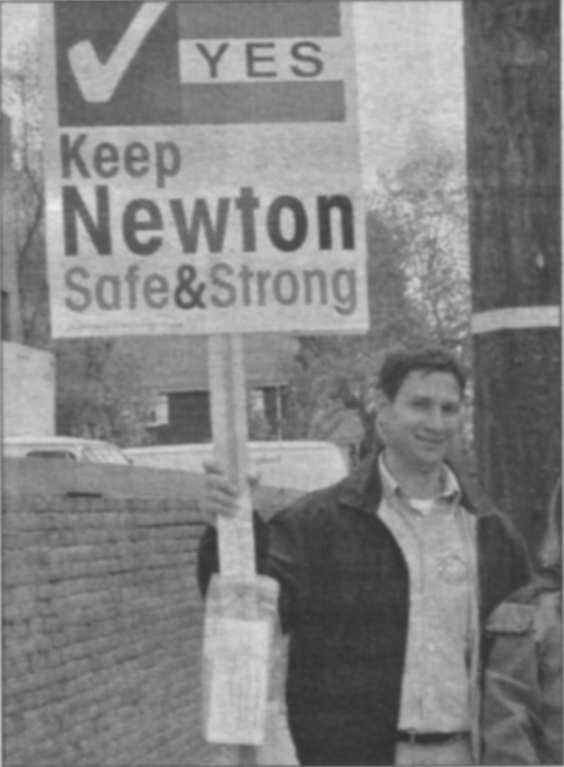
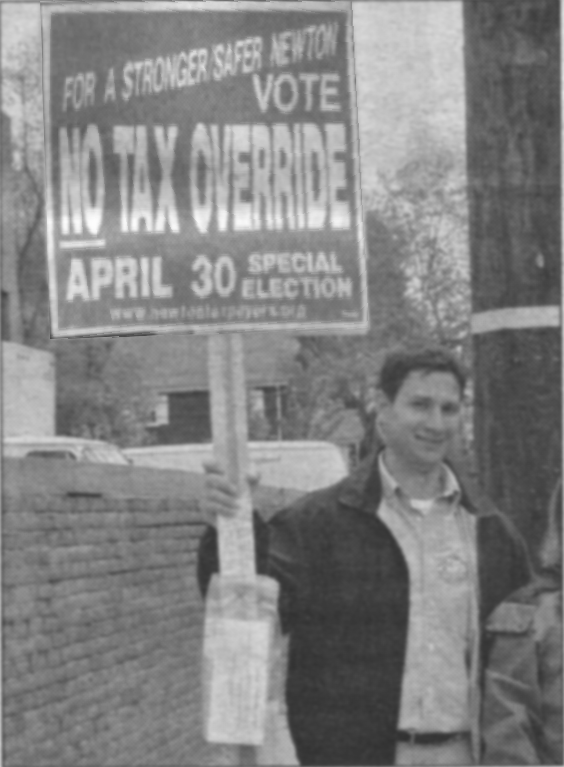
When I was still in highschool, there was a big vote to allow the increase of the property tax in my hometown. At that time, I was taking photos for my school newspaper, and I was assigned the job to get photos of people holding signs encouraging people to vote "yes" or "no", these two pictures being the ones we used in the newspaper. Both sides claimed it would make Newton stronger and safer, and frankly, I don't think they really knew. So would anyone notice if I changed the signs a bit? Original pictures:


These two pictures were taken while I was visiting Taiwan. I think I may actually have been trying to get pictures to compare the difference between night and day of the view out the window. A linear blend gradient goes along the x-axis over the overlapping areas Original Images:


Another cute use of the fuctions that I created for this project. Looking through the photo archives, I came across two pictures, one of the fire station down the street from my house, and the Gate at the entrance to Chinatown, Boston. This basically just adds the gate to the firehouse. However, the lack of foresight lead to a rather odd picture. First, the picture of the gate is taken at a different angle than that of the fire house. Second, the fake "gate" at the firehouse would be 2d, while the gate in Chinatown was 3D, and finally, the lighting difference really makes the image look... odd. Original Images:


